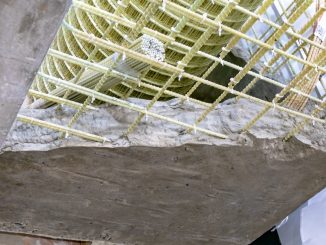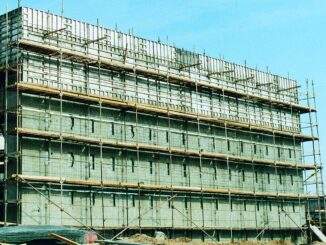










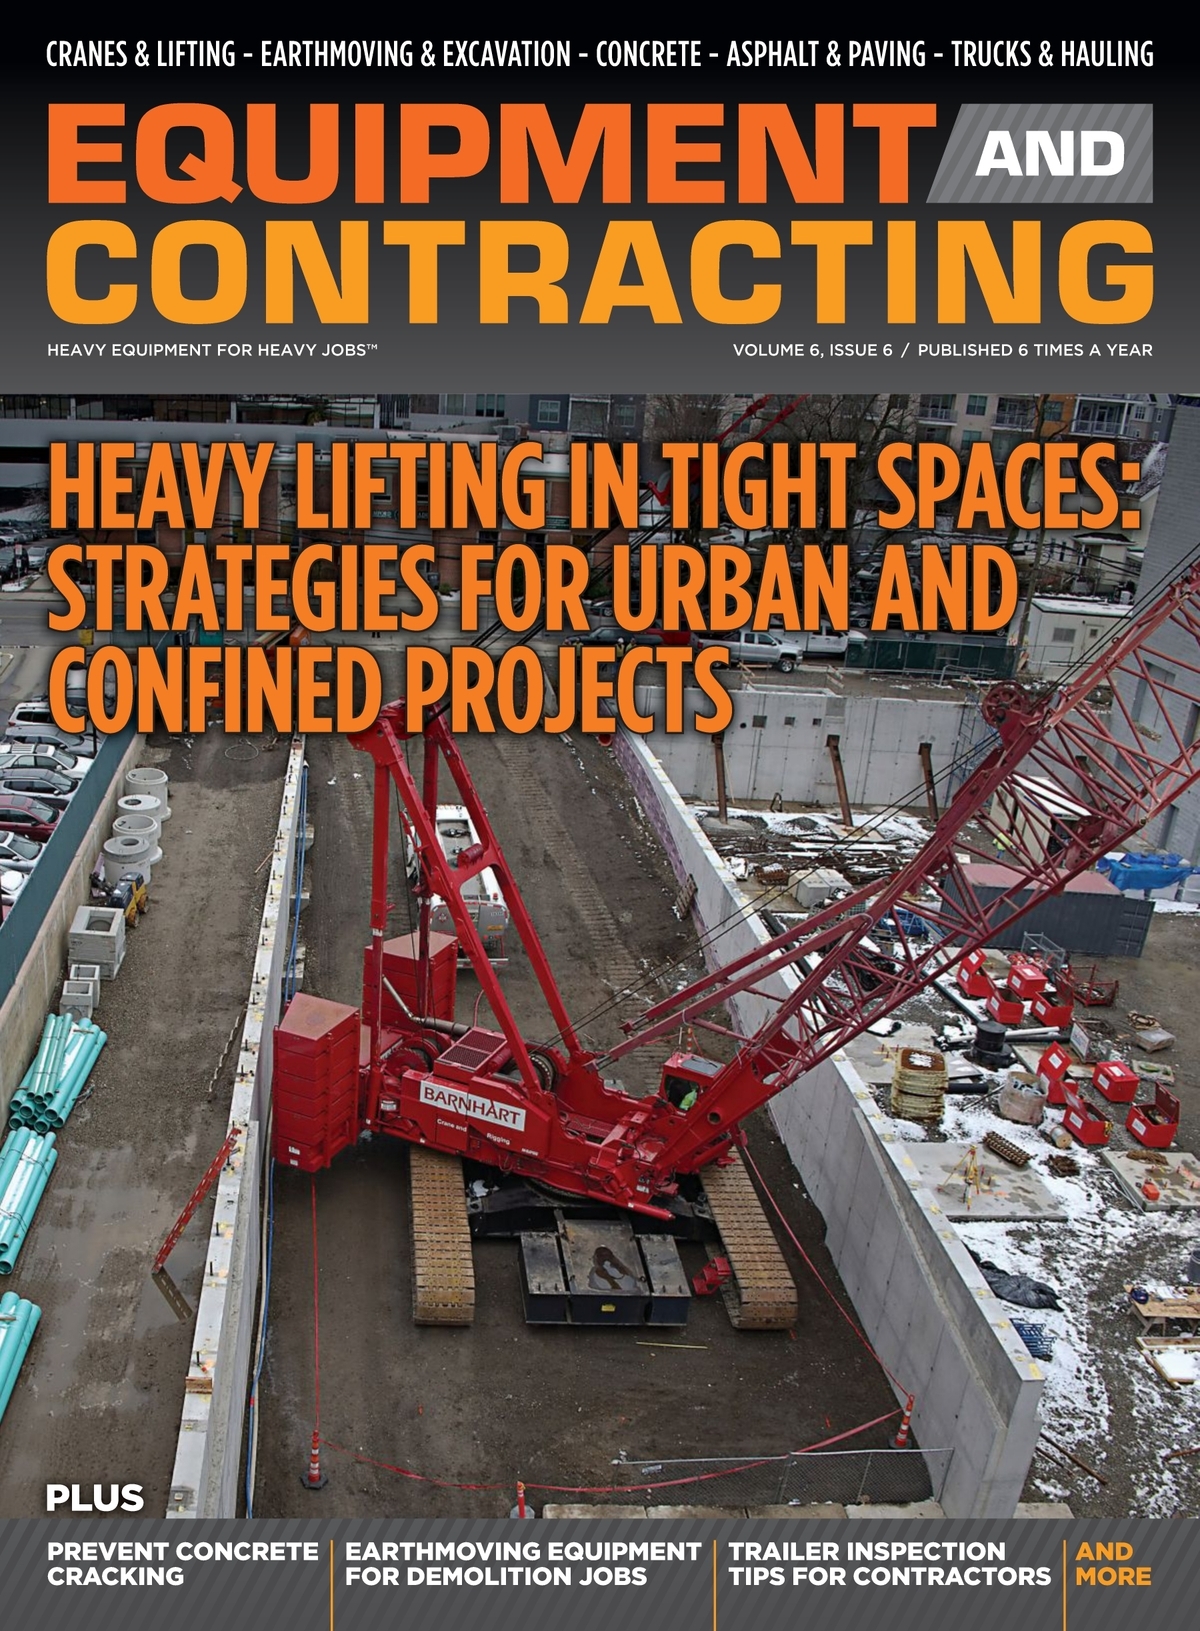

































Honeycomb on a stripped wall, a rock pocket beside a window buck, or a vibrator head that dies mid-pour usually share the same root cause: consolidation treated as noise-making instead of a controlled process. Air that never finds a path out becomes voids. Over-vibration or “dragging” concrete with the head becomes segregation. Dry-running, bent shafts, and wrong voltage become burned motors and dead heads—right when the truck is waiting.
This guide covers how to consolidate with an internal vibrator without those failure modes: matching head size to the pour, working a real radius of action, using insertion and withdrawal habits that release air, and caring for the tool so it finishes the day.
What Consolidation Is Actually Doing
Fresh concrete is a dense suspension of paste, sand, and coarse aggregate with trapped air from mixing, placement, and form congestion. An internal vibrator sends high-frequency shock waves into that mass so aggregate can settle, paste can flow into voids, and air can rise and escape. Done right, you get density, bond to rebar, and a surface that finishes against the form—not a Swiss-cheese face after strip.
Done wrong, you get the defects every superintendent already knows:
- Honeycomb and rock pockets where air and coarse aggregate never consolidated against forms or embeds.
- Segregation when paste is driven away from stone—or when the vibrator is used as a lateral “conveyor” instead of a consolidator.
- Lift lines and cold joints when successive layers are not knitted together.
- Form bounce, blowout risk, and damaged epoxy-coated bar from hammering the head against forms or steel.
- Burned-out vibrators from dry running, kinked shafts, overloaded heads, or power problems that cook the unit.
Match Head Size, Frequency, and Congestion
Start with the largest head that can physically pass the rebar grid and still leave clearance to forms and embeds. Tiny heads in open walls waste time and leave unconsolidated islands. Oversized heads that must be forced between bars lock up, bend shafts, and tempt operators to shove—exactly how heads get stuck and motors overheat.
Practical selection habits:
- Open walls and thick sections: favor larger steel or rubber heads that move volume quickly, as long as clearance is honest.
- Tight mats, heavily congested columns, and epoxy-coated bar: step down head diameter so the unit threads without prying; rubber-tipped or rubber-coated heads reduce coating damage when contact is unavoidable.
- Low-slump / stiff mixes: need adequate amplitude and a head that maintains contact with the mass—not a tip that drills a hole and leaves the body spinning in air.
- High-slump or highly fluid mixes: still vibrate, but watch duration; overworking can push paste and leave stone.
Power unit and shaft must match the head. An undersized motor that bogs in stiff concrete, a shaft too long and soft for the load, or a mismatched voltage/extension-cord setup will not “feel powerful”—it will heat, drop speed, and fail early.
Radius of Action: The Spacing Rule That Prevents Islands
Radius of action is the distance from the center of the head out to where consolidation is still complete. Beyond that radius, air and voids remain. Charts from internal-vibrator manufacturers—including conservative radius tables published by companies such as Oztec—are starting points, not magic numbers. Low-slump, heavily reinforced, architectural, and high-strength mixes need the conservative values. High slump or well-dosed high-range water reducers can extend the effective radius, sometimes dramatically—but guessing high is how honeycomb hides behind the form face.
Field rule of thumb for insertion spacing:
- Re-insert at about 1½ times the radius of action so influence zones overlap.
- Work a deliberate grid—don’t “chase the hose” randomly across the pour.
- Stay far enough from forms that you consolidate to the face without beating the plywood or steel.
- In congested zones, shorten the grid; radius charts assume the head can couple energy into the mass, not fight a nest of bar.
If you can see unvibrated stone islands between insertion points when looking down into the lift, your grid is too wide—or your dwell is too short.
Insertion Pattern and Withdrawal Habits
Technique beats horsepower talk. A consistent pattern:
- Place first, then vibrate. Drop concrete into position with the chute, pump hose, or bucket. Do not use the vibrator to drag mounds laterally across the form—that is a classic segregation move. Knock down a mound by inserting in its center after it is already where it belongs.
- Insert vertically and let the head sink under its own weight. Forcing it between bars is how you wedge the head and kink the shaft.
- Penetrate the previous lift by about 3 to 6 inches so layers knit and lift lines disappear at strip.
- Dwell 5 to 15 seconds (stiffer mixes and deeper lifts toward the high end) until large air stops rising, the surface sheens, and coarse aggregate settles into the paste—not until the mix looks like soup.
- Withdraw slowly, staying behind the rising air. A common guide is on the order of 15 seconds per 2 feet of withdrawal in many mixes; rush the pull and you re-trap air in the hole.
- A slight up-and-down motion as you leave helps the concrete close the cavity the head left behind.
- Near the top surface, withdraw more quickly so you do not churn air into the finish layer.
Limit lift height when you can—often in the 2- to 3-foot range for walls—so air has a shorter path out and operators can keep a rhythmic grid. Deep free-falls and towering lifts without intermediate consolidation are where rock pockets love to hide.
Signs You Are Done—and Signs You Have Gone Too Far
Stop when the mix shows consolidation, not when the motor has been in the hole “long enough to be sure.” Useful cues:
- Large air bubbles largely cease at the surface near the insertion.
- A thin line of mortar appears along the form near the vibrator, or coarse aggregate disappears into a paste-rich surface.
- The head note steadies; the mass feels “coupled,” not like the tip is drilling a dry hole.
Over-vibration symptoms are just as important: paste bleeding excessively to the surface, stone settling into a rock pocket below, or slurry washing along the form while aggregate lags behind. If the crew’s fix for a stiff truck is “just vibrate longer,” call the batch plant—don’t cook the mix with the head.
Walls, Columns, and Flatwork Edges
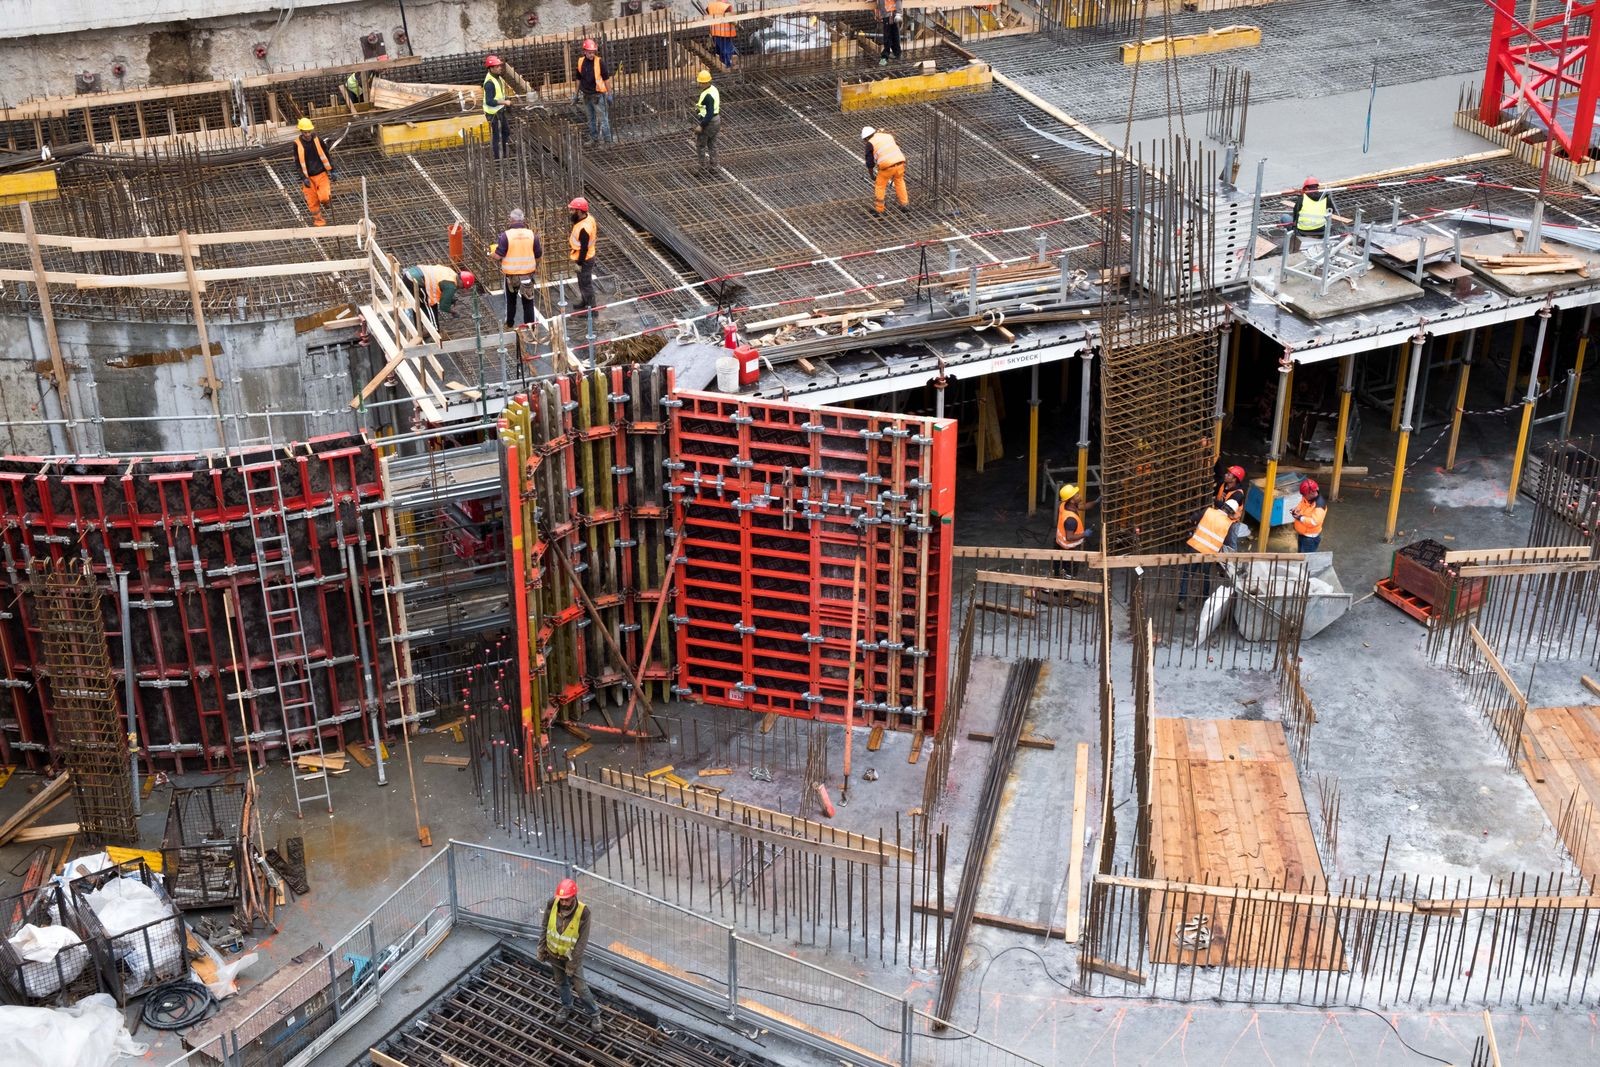
Walls: work systematically along the length, overlapping radii, and stitch into the prior lift every insertion. Watch embeds, waterstops, and window bucks—shadow voids love sharp changes in section.
Columns and congested piers: smaller heads, more insertions, patience at the bottom where stone can nest. Confirm the head can actually reach the bottom before the pour is racing you.
Flatwork edges and thickened slabs: internal vibration still matters at edges, blockouts, and deep thickenings even when a screed handles the open slab. Edge honeycomb after strip is often an insertion-spacing problem, not a finishing problem.
Vibrator Care That Prevents Mid-Pour Failures
Burned-out vibrators are usually predictable:
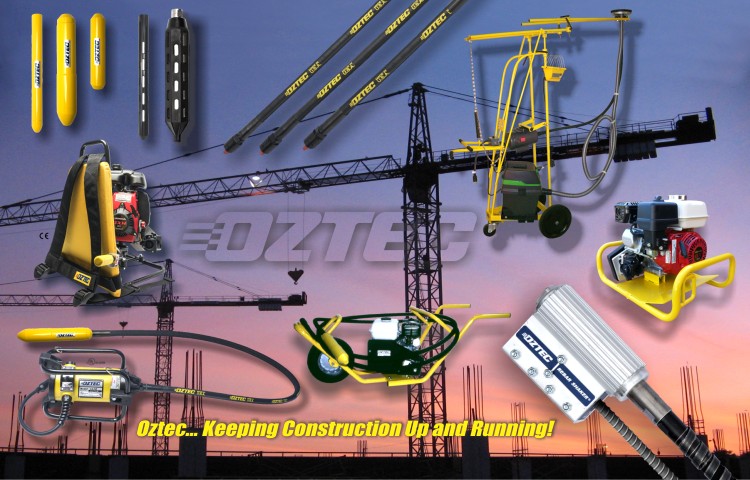
- Never dry-run the head in air for more than a brief functional check. Heads are designed to run in concrete; running light overheats bearings and seals.
- Keep shafts straight in storage and in use. Tight coils, run-over shafts, and forced bends destroy cores and casings.
- Lubricate flexible shafts on the manufacturer’s interval with the specified shaft lube—starved shafts heat and seize.
- Use the right cord, voltage, and circuit. Undersized extension cords and long voltage drops make electric units labor, overheat, and die. Match generator capacity for gas/electric job-site power.
- Respect head/power-unit limits. Pairing the largest head with a motor rated below that load drops VPM under stiff concrete and cooks the unit.
- Quick-disconnect discipline: seat couplings fully before loading the head; half-engaged fittings slip, spark heat, and ruin ends.
- Rinse and inspect after the pour: concrete packed in cooling slots, cracked tips, oil leaks, and frayed casings are tomorrow’s failure.
Train operators that a struggling vibrator is a quality and safety issue—not something to lean on harder. Swap the tool, fix the power, or change head size before the pour owns you.
Field Checklist Before and During the Pour
- Head diameter clears the tightest rebar opening with margin; spare head/shaft on the deck.
- Power unit, cord/generator, and couplings verified under load—not just at idle.
- Radius-of-action spacing marked mentally (or chalked on the form edge) for the mix and head you are actually running.
- Lift height and stitch-into-previous-lift plan agreed before the first bucket.
- No lateral “pushing” of concrete with the vibrator; placement tools move the pile.
- Watch forms for paste lines and listen for air; adjust dwell and grid live.
- Heads stay in concrete while running; shafts unkinked; spares ready before lunch—not after failure.
Bottom Line
Consolidation quality is a pattern: right head for the congestion, overlapping radii, vertical insertions that stitch lifts, dwell until air leaves, slow withdrawal that does not re-trap voids, and equipment habits that keep VPM alive through the last truck. Honeycomb, segregation, and burned-out vibrators are rarely mysteries after strip—they are the visible record of skipped spacing, rushed withdrawal, lateral dragging, or a tool that was already failing when the pour started. Run the grid like it matters to the structure—because it does.