









Frost, hardpan, and cemented soils do not care how sharp your bucket teeth look. When the ground will not dig, crews either hammer for days, haul spoiled material after someone else breaks it, or match a ripper or scarifier to the carrier and the formation. The wrong shank count or an undersized excavator turns ripping into pin-cooking theater; the right match opens the ground so the bucket can finish the trench.
This guide is about how to match a ripper or scarifier attachment to frost, hardpan, and carrier horsepower: reading the ground, choosing single vs multi-shank patterns, pairing penetration force to machine weight class, and knowing when ripping still beats a hydraulic breaker—or when the breaker (or blasting, or haul-away) wins.
Read the Ground Before You Spec the Steel
Frost depth, hardpan thickness, and whether the layer is brittle or plastic change the tool. Frozen silt that fractures in slabs behaves differently than a cemented gravel hardpan that wants a narrow, high-pressure tip. Dig test pits or probe with a bar where you can; note moisture, rock inclusions, and whether the hard layer is a thin crust or several feet thick. Utility marks and as-builts matter—ripping blind through a fiber duct is an expensive way to learn the corridor.
Season timing matters for frost. Early morning frost in the top few inches may yield to a scarifier or ripper tooth on a mid-size excavator; midwinter frost several feet deep may need a heavier carrier, narrower tip, or staged ripping after partial thaw. Hardpan that sits above a soft underlayer can break into large slabs—plan how you will size and load those pieces once they lift.
Single Shank, Multi-Shank, and Scarifier Patterns
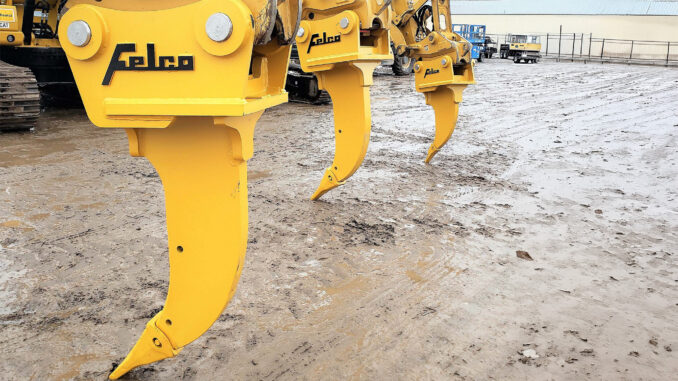
A single heavy ripper shank concentrates breakout force on one tip. That is usually the right starting point for deep frost, thick hardpan, or rock that needs maximum penetration per pass. Multi-shank rippers or scarifier bars trade penetration for coverage—useful when you need to fracture a shallower crust across a wider path for grading or for a bucket to follow. Too many shanks on a light carrier means nothing penetrates; the machine walks the teeth on the surface and overheats the hydraulics.
Tip and shank wear parts are consumables. Carbide or hardened tips slow the grind in abrasive soils; replace them before the shank body itself starts to round off and lose penetration. Keep pin-on interfaces tight—loose pins accelerate wear on both the attachment and the coupler.
Match Carrier Weight, Hydraulics, and Geometry
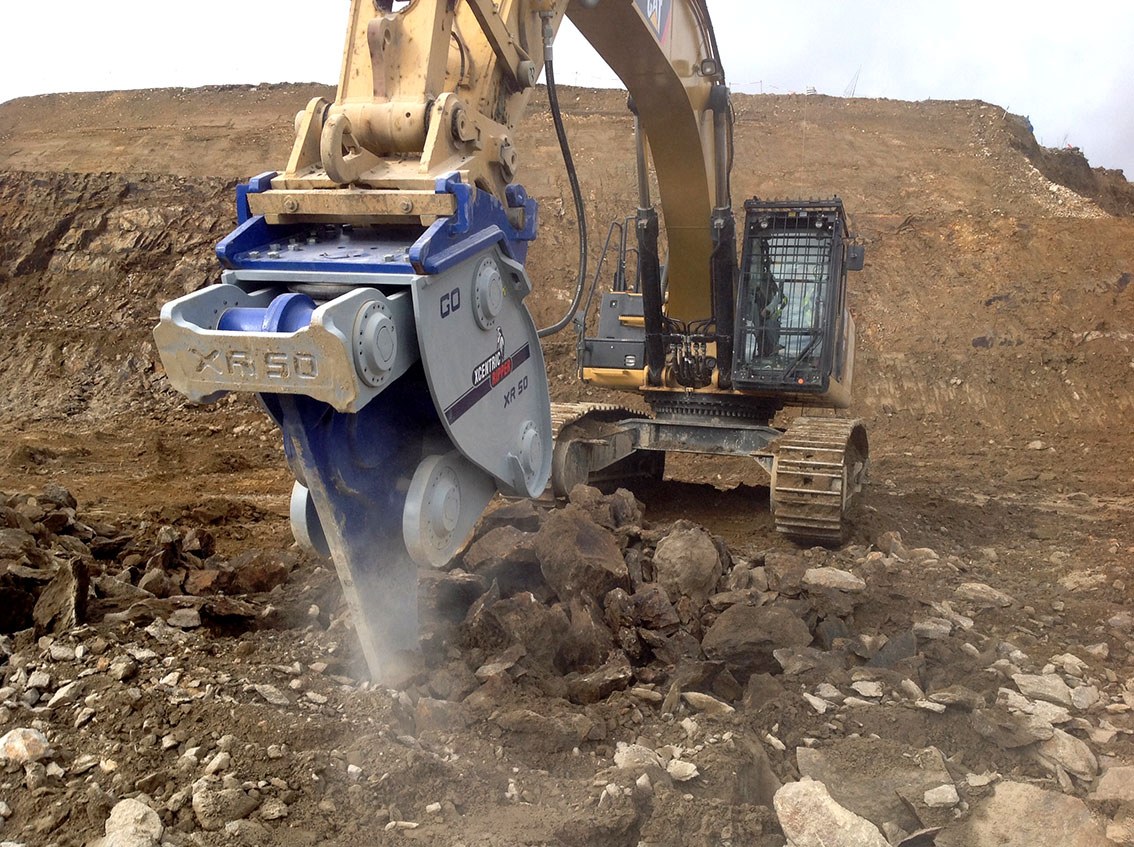
Ripping is a machine-weight and geometry problem as much as a tip problem. Excavator operating weight, stick and bucket cylinder force, and the ability to crowd while keeping the shank angle in the material decide whether the tooth bites or glances. Attachment makers publish carrier weight ranges for a reason: a ripper built for a 20–25 metric ton class excavator on a 8-ton mini will stall the machine and beat the pins. Conversely, a light scarifier on a large excavator may survive but will under-use the machine’s breakout—and may not hold geometry under full crowd.
Hydraulic flow and pressure must meet the coupler and any powered features, but for a passive ripper the limiting factors are usually structural: boom and stick ratings, coupler capacity, and the attachment’s pin diameters. Confirm the quick coupler’s locking method and rated loads in the ripping attitude—not only in bucket dig. Side loads from steering the shank like a plow destroy couplers; rip in line with the boom and reposition the carrier instead of twisting the tooth under full crowd.
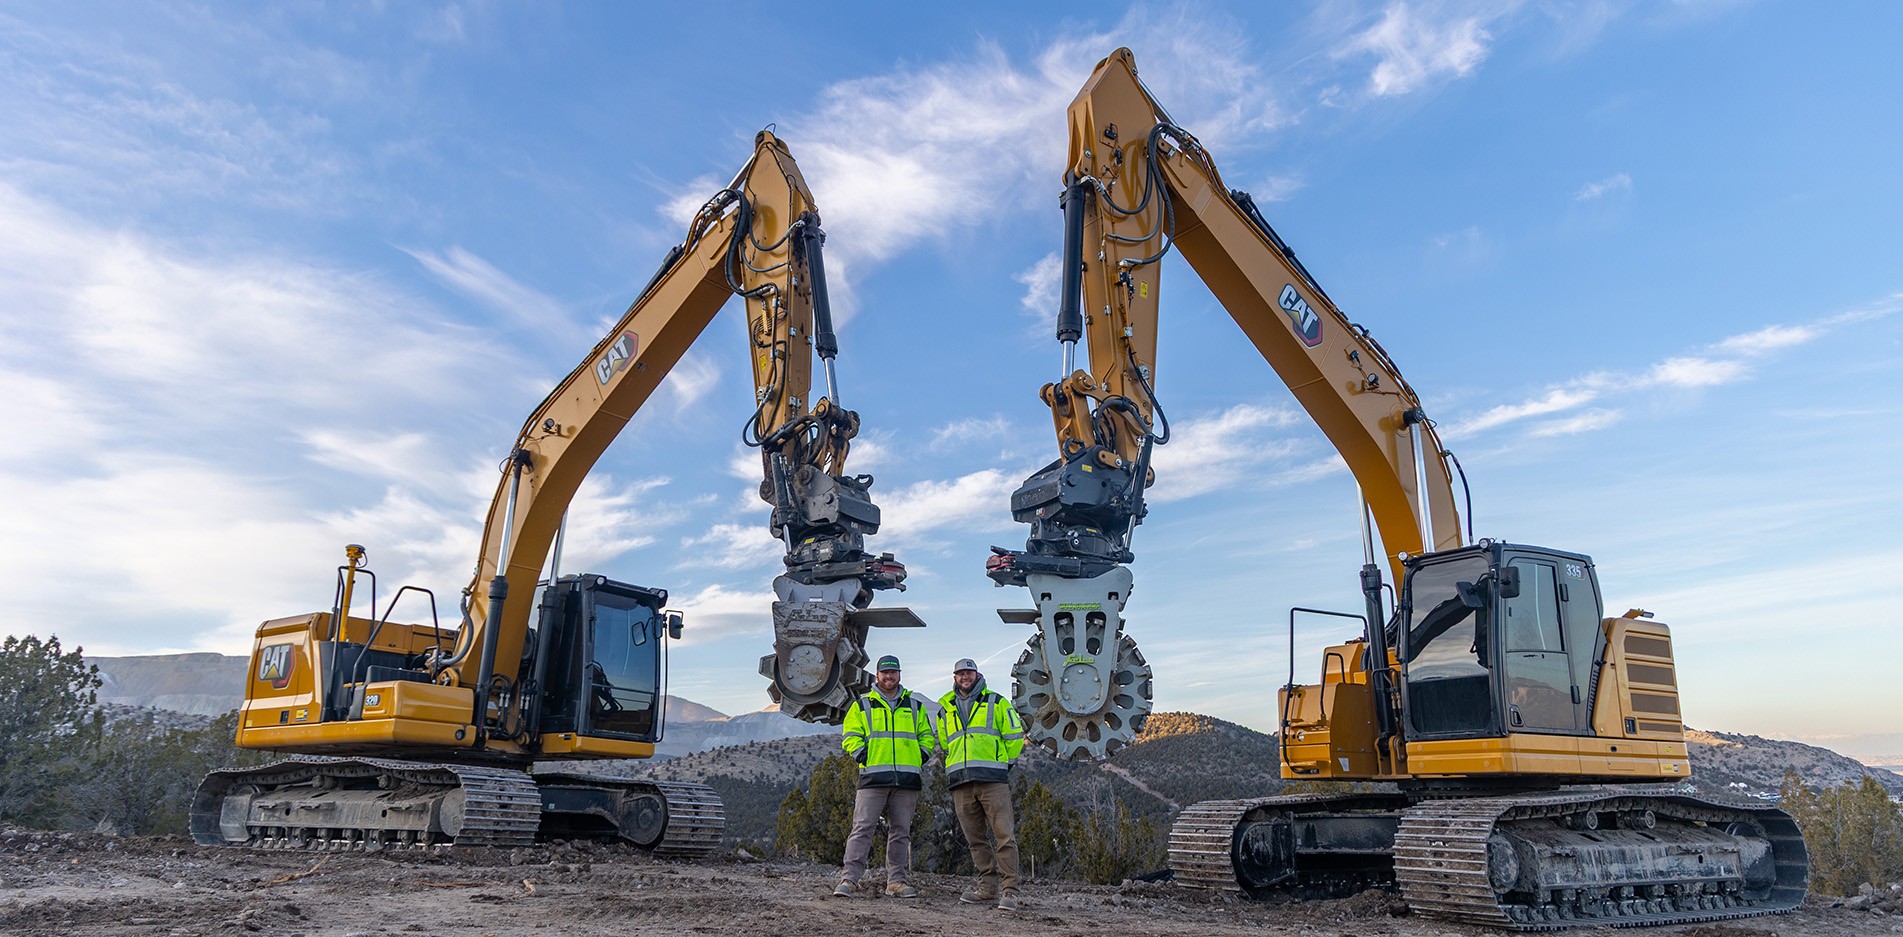
Specialty excavator attachment builders such as Felco Industries size ripper shanks and related tools for underground utility and infrastructure work—use their carrier ranges and wear-part guidance as a starting point, then validate against the hardest frost or hardpan on your alignment, not the average dirt in the brochure photo.
Ripping vs Hammering vs Hauling Away
Ripping usually wins when the material will fracture under a concentrated tip and you can follow with a bucket—frost slabs, many hardpans, weathered rock, and cemented soils that break rather than pulverize. A hydraulic breaker wins when the material is massive, highly abrasive rock, or reinforced concrete that needs impact energy rather than a pry tip—or when vibration and noise limits still allow hammering but ripping cannot get geometry on the face. Hauling away (or milling / grinding) wins when the volume of unsuitable material is large, when utilities make aggressive ripping unsafe, or when the schedule values predictable trucking over uncertain fracture.
Hybrid sequences are common: rip to open a frost crust, bucket the slabs, then breaker only the stubborn inclusions. That mix keeps the hammer from wasting tool steel on material a shank would have lifted in one pass.
Field Habits That Protect Pins and Production
Start the tip in a kerf or a free face when you can—pure dead-end penetration into unbroken hardpan cooks heat into the steel and the machine. Use crowd and stick together so the shank stays engaged without constant stalling. Clear ripped material often enough that you are not re-ripping spoil. Watch for underground utilities even after marks—hand dig or hydro-excavate at conflict points. After a shift in abrasive ground, check tip wear, shank cracks, and coupler pins before the next frost morning makes yesterday’s “almost worn out” tip a polished skipper.
Wear Parts, Couplers, and a Practical Spec Sheet
Before you order, write the formation notes (frost depth or hardpan thickness, abrasiveness, rock inclusions), the excavator make/model and operating weight, coupler type, and whether you need a single deep shank or a wider scarifier pattern for finish grading. Ask for tip options and expected wear life in abrasive soils. Confirm shipping weight and pin sizes so the first morning is not spent hunting bushings.
On the machine, verify coupler lock indicators every time the attachment is swapped—ripping loads try to spit unlocked tools. After frozen or cemented ground, inspect the shank for cracks at the tip pocket and at pin bosses. A tip that is “almost gone” will skate on the next hard morning and train the operator to twist and stall. Replace early; the tip costs less than a bent shank or a delayed utility trench.
Train operators on the difference between ripping and digging. The ripper is not a bucket substitute for loading trucks. Its job is to fracture; the bucket follows. Crews that try to pry, curl, and load with the shank in one motion shorten attachment life and miss the production gain ripping was meant to create.
Final Thoughts
Matching a ripper or scarifier to frost and hardpan is a ground-reading problem first and a catalog problem second. Choose single-shank penetration or multi-shank coverage for the layer you actually face, pair the attachment to carrier weight and coupler ratings, and keep the shank working in line with the boom. Ripping beats hammering when the formation fractures under a tip and a bucket can finish the trench; escalate to a breaker or haul-away when the rock, reinforcement, or utilities say otherwise. Sharp tips, honest carrier match, and a clear utility plan turn hard ground into a production sequence instead of a pin-cooking stalemate.