







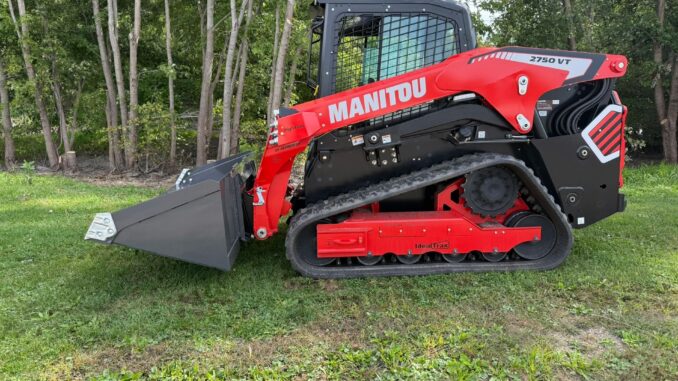
A skid steer rarely fails because the operator “needs a bigger bucket.” It fails when the attachment volume, material density, and the machine’s rated operating capacity (ROC) stop agreeing. The wrong size steals usable lift on every tippy carry, forces short-fill habits that kill cycle time, and turns a productive compact loader into a tip-risk chore.
Sizing a bucket is not about chasing the largest heaped-yard number on a brochure. It is matching struck and heaped capacity to the materials you actually move—dirt, gravel, mulch, wet clay, snow—so the machine stays inside its tipping-load budget while still filling fast and dumping clean.
ROC in Plain Language: What the Spec Actually Limits
On skid steers and compact track loaders, manufacturers publish a Rated Operating Capacity—commonly about half of the static tipping load under a defined SAE test setup. Treat ROC as the practical ceiling for attachment weight plus material weight in a typical working posture, not as a dare to max out every cycle.
Three numbers matter more than marketing horsepower:
- ROC (lb)—the load rating you plan around for day-to-day work.
- Tipping load (lb)—the theoretical tip point; ROC is derived from it with a safety factor.
- Attachment tare weight (lb)—the empty bucket (or other tool) already consumes part of that budget before you dig.
Net payload available for material is roughly: ROC minus attachment weight, then adjusted for how far the load sits ahead of the front axle/tracks, how high you carry, and how soft or crowned the pad is. A heavy “dirt” bucket that looks right on dry topsoil can put you over the edge the first time you hit wet clay—even if the heaped-yard sticker is unchanged.
Struck vs Heaped: Why Brochure Yards Mislead
Struck (level) capacity is the volume with material leveled across the cutting edge and side plates—no pile above the rim. Heaped capacity adds the mound that sits above that line. Sales literature often leads with heaped yards because the number is larger. Field production follows what you can actually load, carry without spill, and dump without fighting the pile.
A practical way to compare buckets of similar shape:
- Measure bucket height (top of opening straight down to the floor) and depth (cutting edge back to the rear sheet) in inches.
- Struck cubic feet ≈ (Height × Depth ÷ 2) × Width ÷ 1,728.
- Heaped capacity adds a mound allowance that depends on bucket geometry—deeper / more open light-material designs heap differently than tight dirt buckets.
Convert cubic feet to cubic yards (÷ 27) when you talk production with truck drivers and estimators. Then stop thinking in yards alone: multiply volume by material density to get pounds—and compare those pounds to remaining ROC.

Material Density: The Number That Changes Bucket Choice
Two buckets with the same heaped yards can behave like different tools once density enters the math. Approximate bulk densities (order-of-magnitude, loose material—always verify for your job):
- Dry snow / light fluff: often a few hundred lb/yd³—volume is the limiter, not tip risk, until wet/packed snow or ice chunks show up.
- Mulch / wood chips (dry): commonly in a mid-hundreds to ~1,000 lb/yd³ band depending on moisture and species.
- Dry topsoil / loose dirt: often around ~2,000–2,200 lb/yd³.
- Gravel / crushed stone: commonly ~2,400–3,000+ lb/yd³.
- Wet clay / saturated spoils: frequently ~3,000–3,500+ lb/yd³ and sticky—fill factor stays high and weight climbs fast.
Worked example (illustrative): a machine with 2,200 lb ROC and a 550 lb bucket leaves about 1,650 lb for material. At 2,700 lb/yd³ gravel, that is roughly 0.6 yd³ of safe payload—not a 1.0 yd³ heaped sticker. Operators who keep trying to heap the big number either short-fill (slow cycles) or carry tippy loads (unsafe cycles). The correct fix is a smaller dirt bucket—or a dedicated light-material bucket used only on light materials—not “more throttle.”
When a Light-Material or Snow Bucket Is the Right Tool
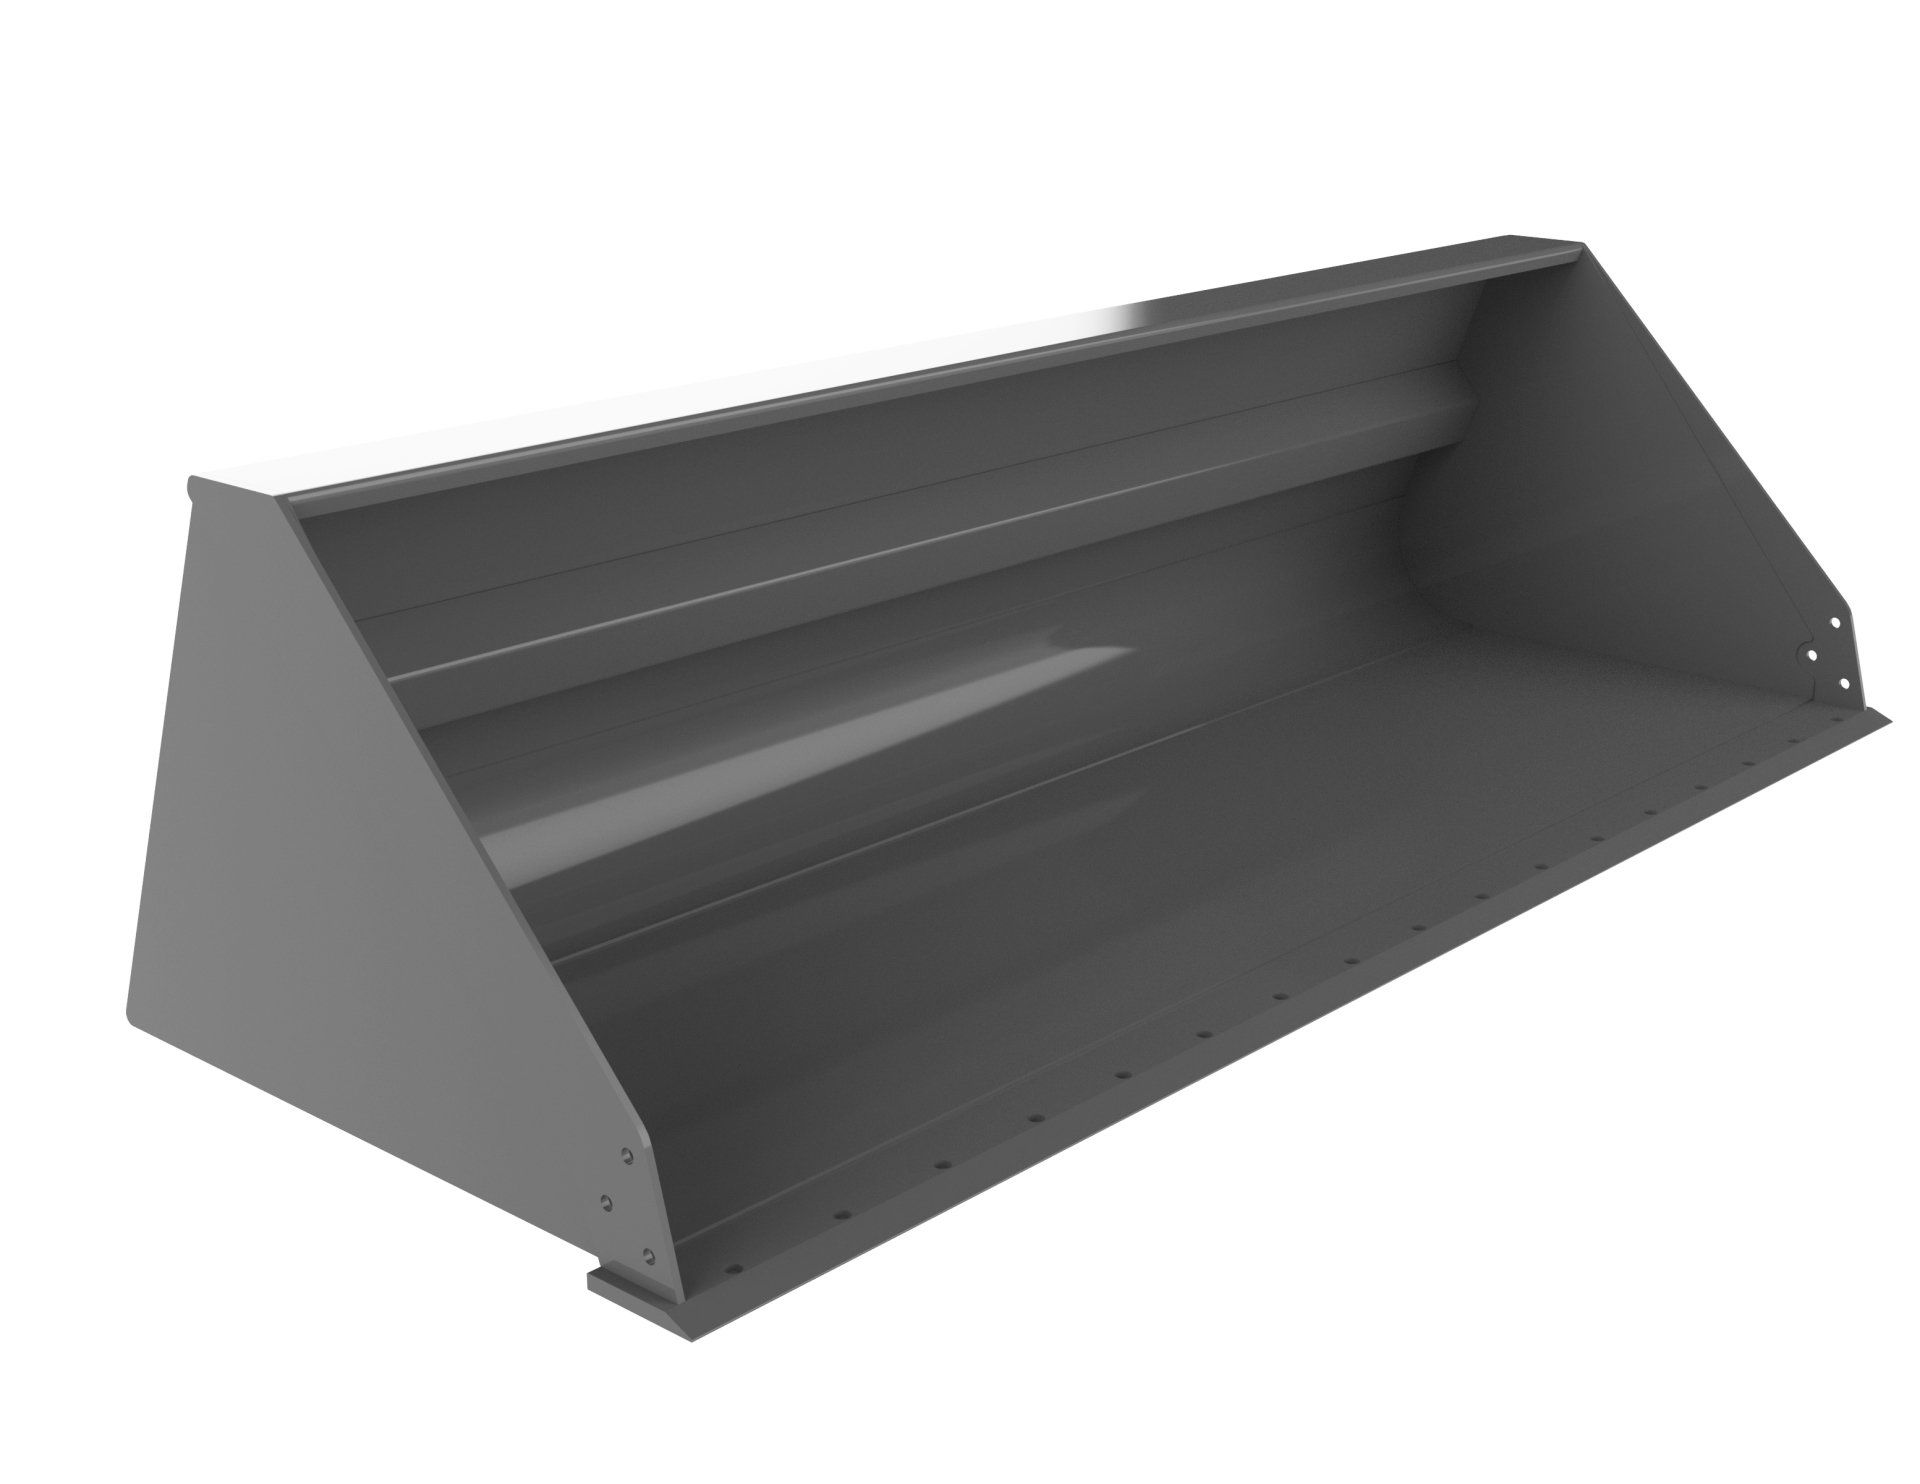
High-volume / snow / light-material buckets exist because low-density work rewards cubic yards, not steel mass. A deeper, taller envelope moves more mulch, feed, or snow per pass while the load weight still fits under ROC. Put that same shell into wet clay and you have built a tip-over machine.
Use a light-material bucket when:
- The day’s primary materials stay low density (snow, dry mulch, light landscaping soils, ag feed).
- You can keep a separate dirt bucket for excavation, grading, and heavy spoils—swap tools instead of compromising one shell for every job.
- Dump height and visibility still match the trucks, hoppers, or windrows you feed.
Attachment makers such as Berlon publish struck/heaped methods and material-weight charts alongside dirt, grading, utility, and high-volume shells—use those as a starting point, then validate against your ROC plate and the wettest material you will see that week.
Cutting Edges, Corner Bits, and Wear That Changes Capacity
Wear parts are not cosmetic. A worn cutting edge, missing corner bits, or bent side cutters change how the bucket fills, how much material spills on the carry, and how hard the operator has to dig to “make” the heaped look. Bolt-on edges and tooth bars restore bite; they also add a little tare weight—budget that into ROC just as you would a spill guard.
Habits that protect both steel and lift:
- Match edge / teeth to the work (grading vs digging vs abrasive gravel).
- Replace corners before the side plates round off and leak capacity.
- Keep the floor and radius clean so material releases instead of packing into dead weight.
Why Oversized Buckets Steal Lift and Cycle Time
An oversized bucket does not make a compact loader “more productive.” It usually does the opposite:
- Short fills become policy. Operators learn not to heap because the machine feels light in the back—every cycle moves less than the sticker promised.
- Carry height drops. Loads stay low to avoid tip feel, which slows truck loading and sightlines.
- Ground conditions punish you. Soft pads, ramps, and curb climbs turn a marginal ROC into a tip event.
- Breakout suffers. A bigger shell that cannot dig cleanly wastes time shaving piles instead of loading trucks.
Right-sizing often means a slightly smaller dirt bucket that fills completely every time—and a second light-material bucket for snow/mulch days. Two honest tools beat one compromise shell.
A Field Checklist Before You Order Width and Depth
- Read the ROC plate for the exact machine (and remember tracks vs tires, counterweights, and litter kits change behavior).
- Weigh or look up the empty bucket you are considering—including edge, teeth, and guards.
- List materials by density, including the worst-case wet condition.
- Compute allowable yards = remaining payload ÷ density; compare to struck and heaped specs.
- Check machine width and curb rules so a wide bucket does not fight gates, trenches, or trailer loading.
- Confirm visibility to the cutting edge for grading work—extended-lip / low-profile shapes help when back-dragging matters.
- Plan the swap: quick coupler discipline so dirt and light-material buckets both live on the trailer.
Bottom Line
Bucket sizing is ROC and density first, heaped-yard brag second. Match struck capacity to heavy materials, reserve high-volume shells for light materials, keep wear parts honest, and stop asking one oversized bucket to do every job. The payoff is full, stable cycles—more yards per hour without stealing lift from the machine or margin from the crew.


