









































Tack that tracks onto tires, chip seal that bleeds in the wheel paths, and dry lanes that ravel before the first winter are rarely “bad emulsion” problems alone. More often the distributor left the yard with a computer rate, a temperature guess, and no proof that gallons per square yard on the pavement match the job mix or agency target. Calibration is how you turn that guess into a shot you can defend.
This guide walks through shot rate, material temperature, spray-bar setup, and verification passes that keep tack coats bonding and chip seals embedding—without flushing aggregate or starving the mat.
Start With the Target—Not the Computer Default
Before you touch pump RPM or bar switches, write down what “good” looks like for this day:
- Application type—tack/bond coat under hot mix, chip-seal binder, fog seal, or prime. Rates are not interchangeable.
- Target residual or emulsion rate—agency or mix-design gallons per square yard (or liters per square meter). Know whether the number is residual asphalt or as-sprayed emulsion.
- Product—emulsion grade, cutback, or paving-grade asphalt, plus the manufacturer’s recommended spray temperature window.
- Width and length—planned spray width, lane layout, and handwork zones where the bar will shut off.
Typical planning ranges (always confirm against your specs and product data sheet): tack/bond coats are often a light film measured in hundredths of a gallon per square yard; chip-seal binder shots are heavier and must leave enough binder for embedment without flooding the stone. If your ticket only says “tack it,” stop and get a number. A wrong rate calibrated perfectly is still a failed road.
Temperature: The Silent Rate Killer
Viscosity changes with temperature. Cold binder hangs in the bar, fans poorly, and lays heavy or streaky. Overheated emulsion can break early in the tank or on the pavement, leaving a skin that will not wet chips or accept hot mix. Treat temperature as part of rate control—not a separate checklist item.
- Heat to the product window before the first spray pass—not halfway through the first lane.
- Circulate through the bar long enough to purge air and warm valves and nozzles so the first foot of spray matches the last.
- Insulated tanks and covers help, but long idle time, wind, and thin loads still drop temperature. Recheck tank and, when practical, bar temperature before critical passes.
- Do not chase rate with heat. If the computer says you are light, fix pump calibration, ground speed, or nozzle setup—raising temperature past the data sheet to “make it spray” invites break and tracking.
Carry a reliable thermometer and log tank temperature at load, at first spray, and after any long delay. If ambient is cold and the product is near the bottom of its window, shorten haul idle and keep circulation honest.
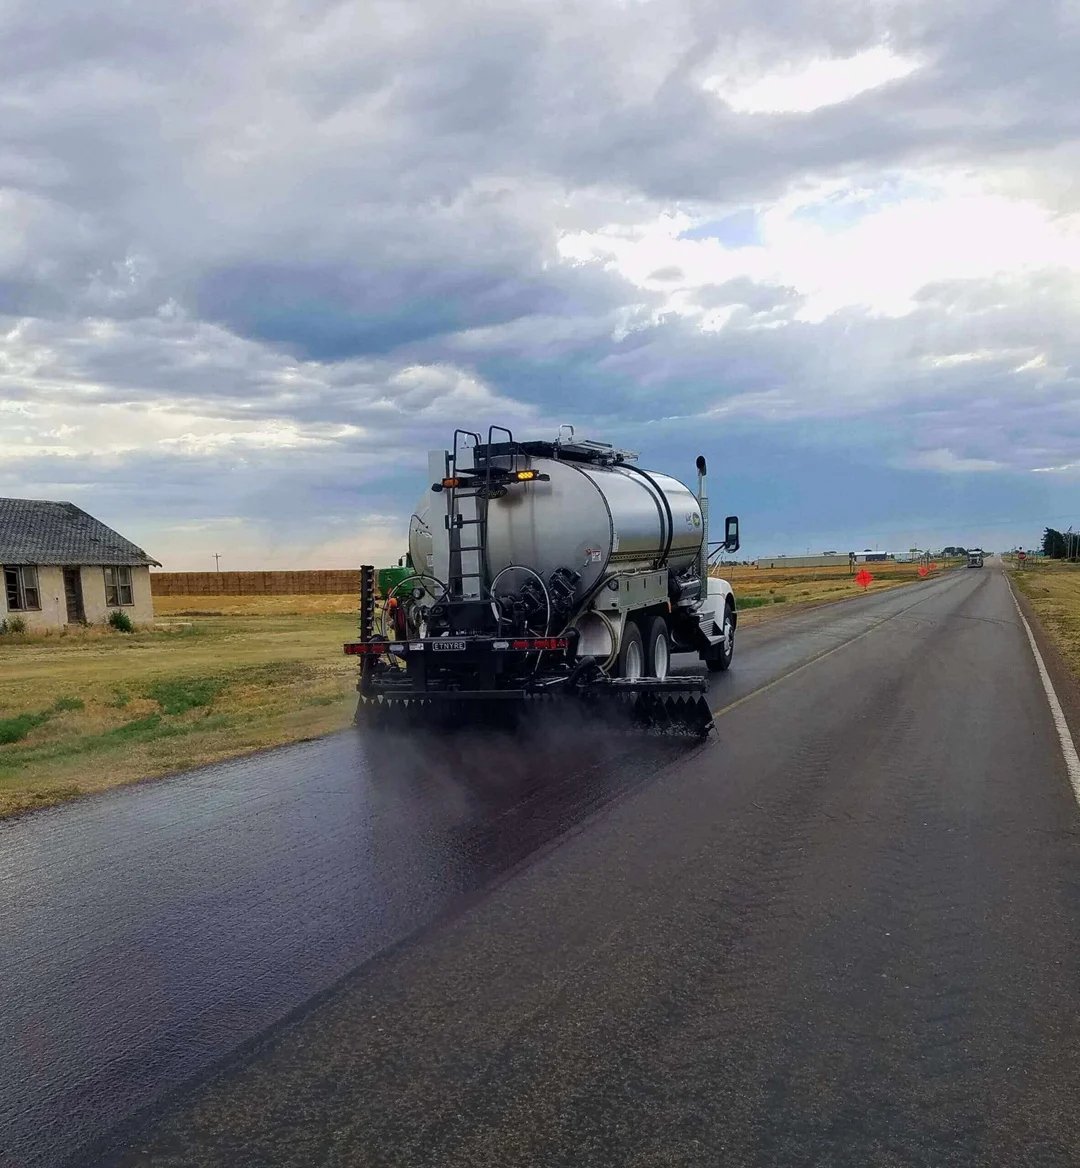
Spray-Bar Geometry Before You Chase Gallons
Uneven shot rate is often a pattern problem wearing a rate costume. Check the hardware the pavement will see:
- Nozzle size and type matched to the product and target rate—mixed or worn tips create fat and dry stripes in the same pass.
- Nozzle angle and orientation so fans form the intended double (or manufacturer-specified) overlap. A twisted tip throws a heavy edge and a starved neighbor.
- Bar height in the range that keeps fan overlap correct. Too high and wind shreds the pattern; too low and you get heavy centers and light edges.
- Section switches and variable-width extensions that actually open and close when commanded—stuck valves are instant blotches.
- Clean screens and clear lines—partial plugs look like “the computer is lying” until you pull the tip.
Walk the bar cold, then again after circulation with a short test spit on scrap or a designated pad if your agency allows it. Pattern first; gallons second.
Shot Rate Calibration That Holds Up on the Job
Modern distributors compute gallons per square yard from pump flow, spray width, and ground speed. That math is only as good as the inputs. Field-calibrate instead of trusting last season’s factors:
- Confirm spray width for the sections you will actually open—including partial widths and extensions. Displayed width must match wet film on the ground.
- Verify ground-speed input—radar, GPS, or wheel sensor. A bad speed signal scales every gallon wrong.
- Check pump / flow factor per the manufacturer’s procedure (catch-can, timed tank drawdown, or controller calibration mode). Do it with the product (or approved calibration fluid) at working temperature when the manual requires it.
- Run a measured test strip—known length and width at the planned rate. Compare tank drop or metered volume to area. Adjust the factor until measured rate matches target within your agency’s tolerance.
- Recheck after nozzle or product changes—switching emulsion grades or tip sizes is a new calibration event, not a footnote.
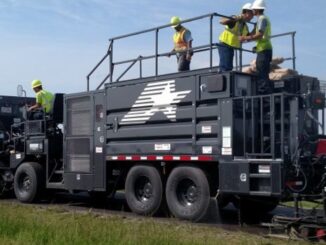
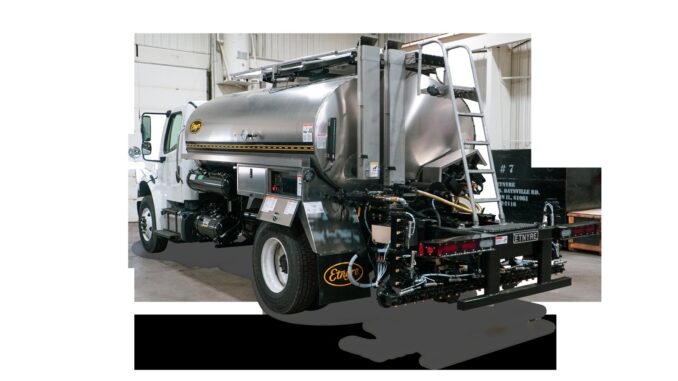
Crews that run purpose-built asphalt distributors from manufacturers such as Etnyre still live or die by this loop: clean pattern, honest speed and width, verified pump factor, then a measured strip before production tonnage hits the road.
Verification Passes: Prove It Before You Commit the Lane
Calibration in the yard is necessary; verification on the first production pass is what protects the night’s work.
- Start on a short, observable section—not the middle of the longest lane with traffic stacked behind you.
- Watch the fan for continuous coverage, correct overlap, and clean start/stop without heavy blotches when the master spray opens and closes.
- Compare wet appearance to experience and spec—tack should look like a uniform thin film, not a paint roller of free emulsion; chip binder should look wet enough for embedment without puddling in the wheel path.
- Spot-check rate with tank drop over a measured area or agency-approved sampling when required. If the strip is light or heavy, stop and correct before you pave or chip a mile of wrong.
- Re-verify after lunch, weather shifts, or width changes—temperature and setup drift are normal; ignoring them is optional.
Build a habit: one verification strip per product load (or per major setup change), logged with temperature, target rate, measured rate, and operator initials. That scrap of paperwork beats arguing with a failed bond test later.

Chip Seal Timing: Binder Shot and Aggregate Are One System
Distributor calibration does not end when the bar shuts off. For chip seal, the binder shot must meet the aggregate:
- Spread chips while the binder is still in its adhesive window—too late and stone sits on a skin; too early and you plow waves.
- Match shot rate to aggregate gradation and traffic—coarse stone and high traffic need enough binder for embedment; excess binder flushes.
- Keep the spreader and roller sequence tight so embedment happens before the emulsion breaks fully.
- Handwork edges and joints with the same product temperature and a controlled wand—cold hand spray is a common dry-lane source.
If chips are flying or binder is bleeding in the wheel paths, do not only blame the spreader. Recheck distributor rate, temperature, and whether the verification strip still matches the ticket.
Failure Modes: What the Pavement Is Telling You
- Fat streaks / flush—rate too high, speed too low, nozzles too large, bar too low, or temperature so low the fan collapses into streams.
- Dry lanes / streaking—plugged or mismatched tips, wrong overlap, air in the bar, partial section not opening, or rate set for full width while spraying partial.
- Heavy start/stop blotches—slow master-spray timing, poor suck-back, or operator hesitation at joints.
- Tracking on tires—tack over-applied, emulsion not broken/set before haul traffic, or spraying outside the product window.
- Poor chip retention—binder light or already broken, chips delayed, dirty aggregate, or traffic too early without enough embedment.
- Poor hot-mix bond—tack too light, contaminated surface, or tack allowed to get dirty before the paver.
Fix the cause you can measure. Swapping tips without recalibrating, or “adding a little” by eye, recreates the same failure a mile later.
Field Checklist Before the First Production Pass
- Target rate and product temperature window written on the ticket.
- Tank and bar at temperature; circulation complete; air purged.
- Nozzles correct, clean, oriented; bar height set; width switches verified.
- Pump factor and speed input checked; measured test strip within tolerance.
- Verification pass observed and logged before full-lane commitment.
- Chip or paving train ready so binder does not sit unprotected longer than the product allows.
Calibrated distributors do not guarantee a perfect road by themselves—but uncalibrated ones almost guarantee callbacks. Shot rate, temperature, and verification passes are the three controls you can run every morning before the first gallon hits the mat.