













































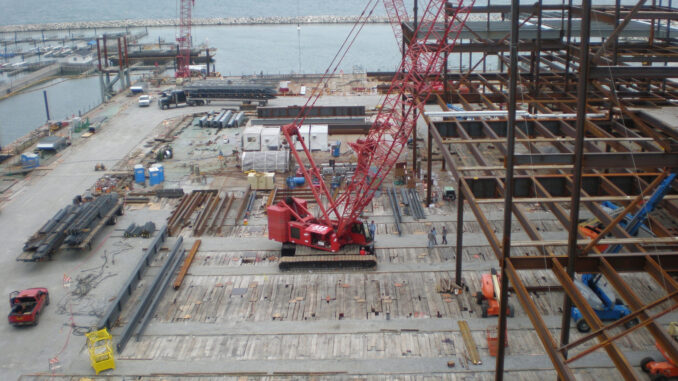
Soft ground does not care how good the crane is. If the mat map is wrong—gaps under a track, short pads under an outrigger, or a single-layer road where the lift plan assumed a layered bearing path—the soil fails first and the schedule follows. Layout is the difference between a planned ground-bearing-pressure (GBP) number and a rut you cannot walk the crane out of.
This guide is about how to lay out crane mats for crawler walks, outrigger paths, and temporary access roads: orientation, overlap, layering, transitions, and inspection habits. It is not a materials picker—choose timber, laminated, composite, or steel mats with your engineer and supplier before you start mapping panels.
Turn the Lift Plan Into a Mat Map
Before the first mat hits the dirt, translate the paperwork into a simple field map:
- Reactions and travel—outrigger or track reactions at the critical radii, plus where the crane will walk, swing, and set. Peak static load and travel path are different problems.
- Allowable GBP—what the geotech or lift plan allows for each zone (pad, walk, road, staging). Soft seams and fill edges get their own callouts, not the average of the site.
- Contact area you will actually build—mat footprint after overlap and edge setbacks, not the brochure width of a single panel.
- Sequence—where mats stage, which panels land first, and how crews leapfrog panels ahead of the crawler without leaving a dead-end.
- Demob and environmental notes—how the path comes up, what stays clean for reuse, and where sensitive ground or wetlands constrain the corridor.
If the map only says “mats under the crane,” you do not have a layout—you have a hope. Mark panel rows, overlap direction, and any double-layer zones the same way you mark exclusion zones.
Crawler Walks: Orientation With Travel
Crawler walks fail when panels open under a track or when soft seams line up with the travel direction. Field habits that keep walks honest:
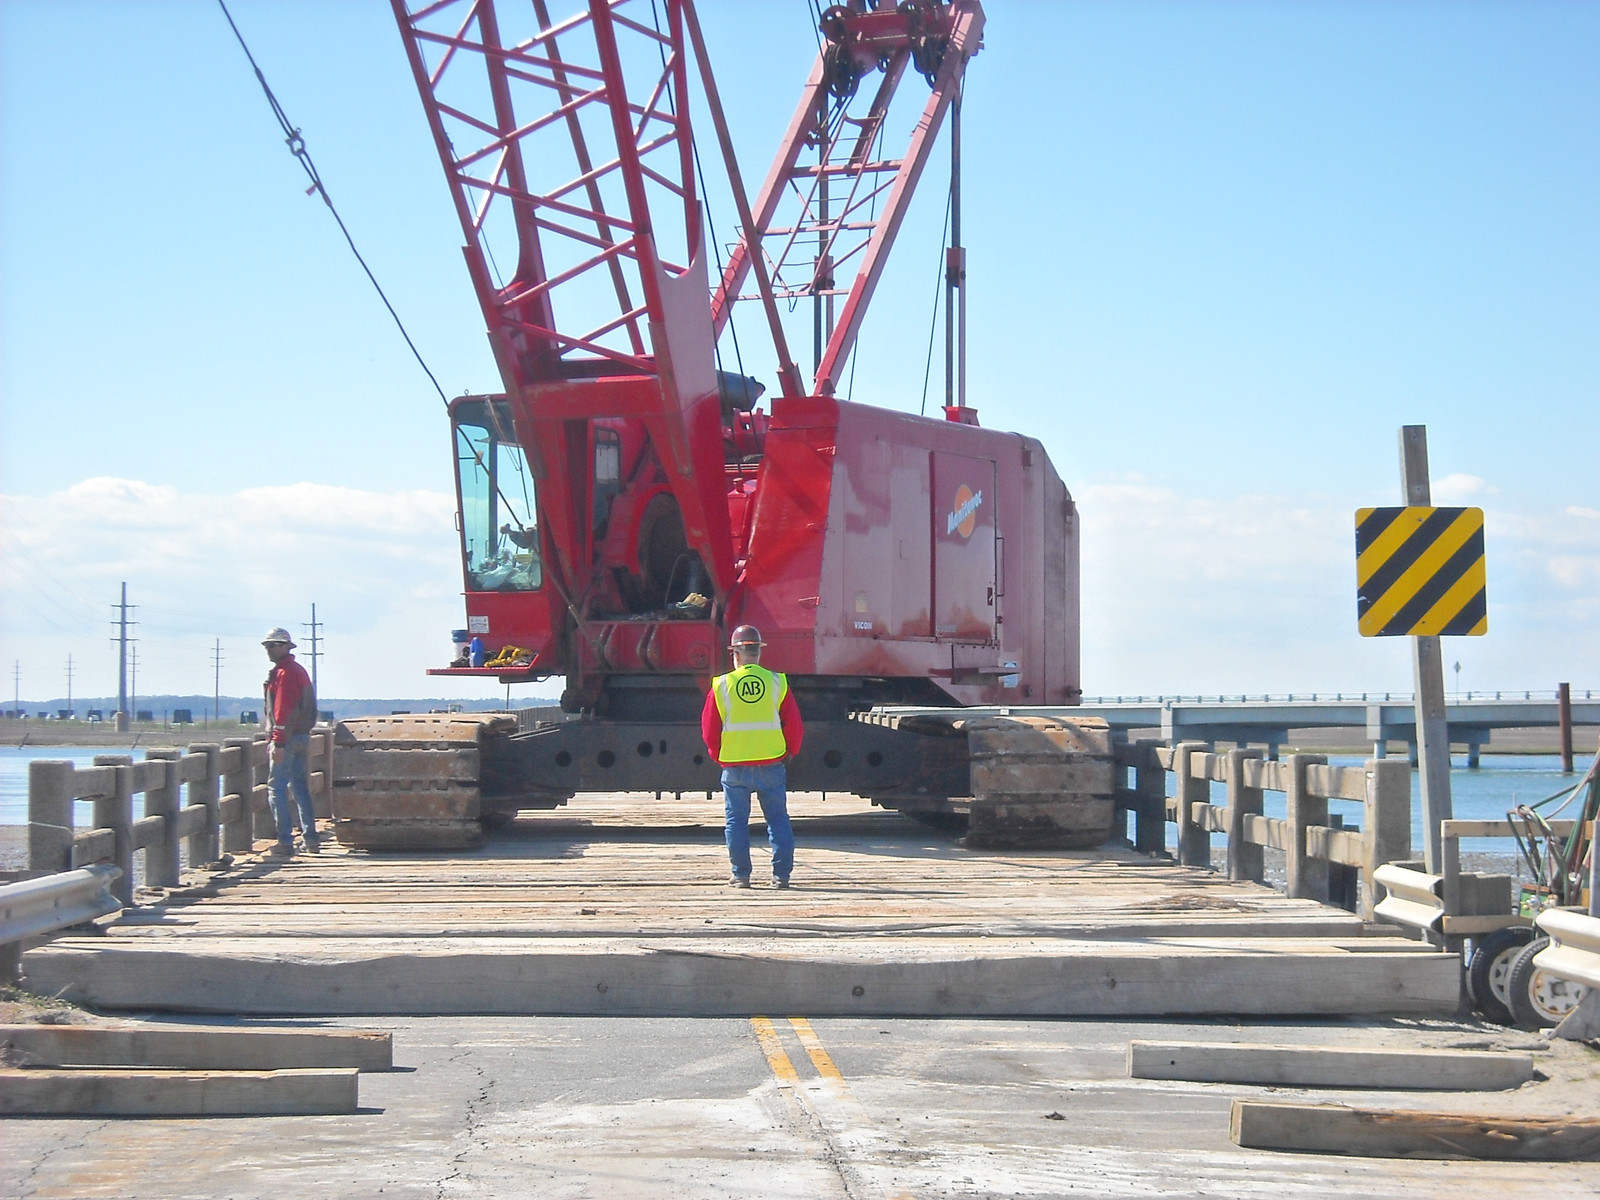
- Run joints across the tracks when you can—so each track always sits on more than one panel edge at a time. Long joints parallel to travel invite a track to drop a seam.
- Keep the walk wider than the track gauge—edge overhang matters. A walk that barely matches track width leaves no margin when the crane steers or the ground shifts.
- Butt tight; bridge soft spots—gaps concentrate pressure. Over soft seams, mud seams, or trench backfill, add overlap or a second layer instead of hoping a single butt joint holds.
- Leapfrog ahead of the machine—place the next panels before the crane needs them. Do not reverse a loaded crawler onto unmatted ground to “fix a missing row.”
- Watch the first and last panels—approach and exit ramps are where tracks dig and panels skate. Stake, crib, or pin transitions so the first mat does not plow mud.
Walk the path at ground level after placement. If you can see daylight between panels under a planned track line, fix it before the crane moves.
Outrigger Paths and Pick Pads
Mobile cranes and boom trucks live or die on the four corners. Layout rules differ from a crawler walk:
- Pad first, then path—size and place the pick pads for the governing outrigger reactions, then connect approaches so trucks and support gear do not tear up the soft ground around the set.
- Center the float on solid wood—not on a joint, not on a chewed edge, not half-on/half-off a panel. If the float sits on a seam, add a cover panel or shift the set.
- Match area to the GBP math—required contact area is reaction divided by allowable pressure, with the safety factors your engineer specified. Guessing “a couple mats” is not a calculation.
- Keep swing clear—outrigger paths and counterweight arcs need clear mat or firm ground. Do not park cribbing, fuel cans, or spare panels in the only exit lane.
- Protect finished surfaces—on asphalt or decorative concrete, plan non-marring covers or sacrificial layers where the float lands; still verify the soil or slab underneath can take the load.
A clean outrigger path that stops short of the pad is unfinished work. The last panel under the float is the one that carries the pick.
Temporary Access Roads: Layers, Overlap, and Bearing Paths
Access roads move trucks, trailers, and support equipment—often more cycles than the crane itself. Layout that survives a wet week:
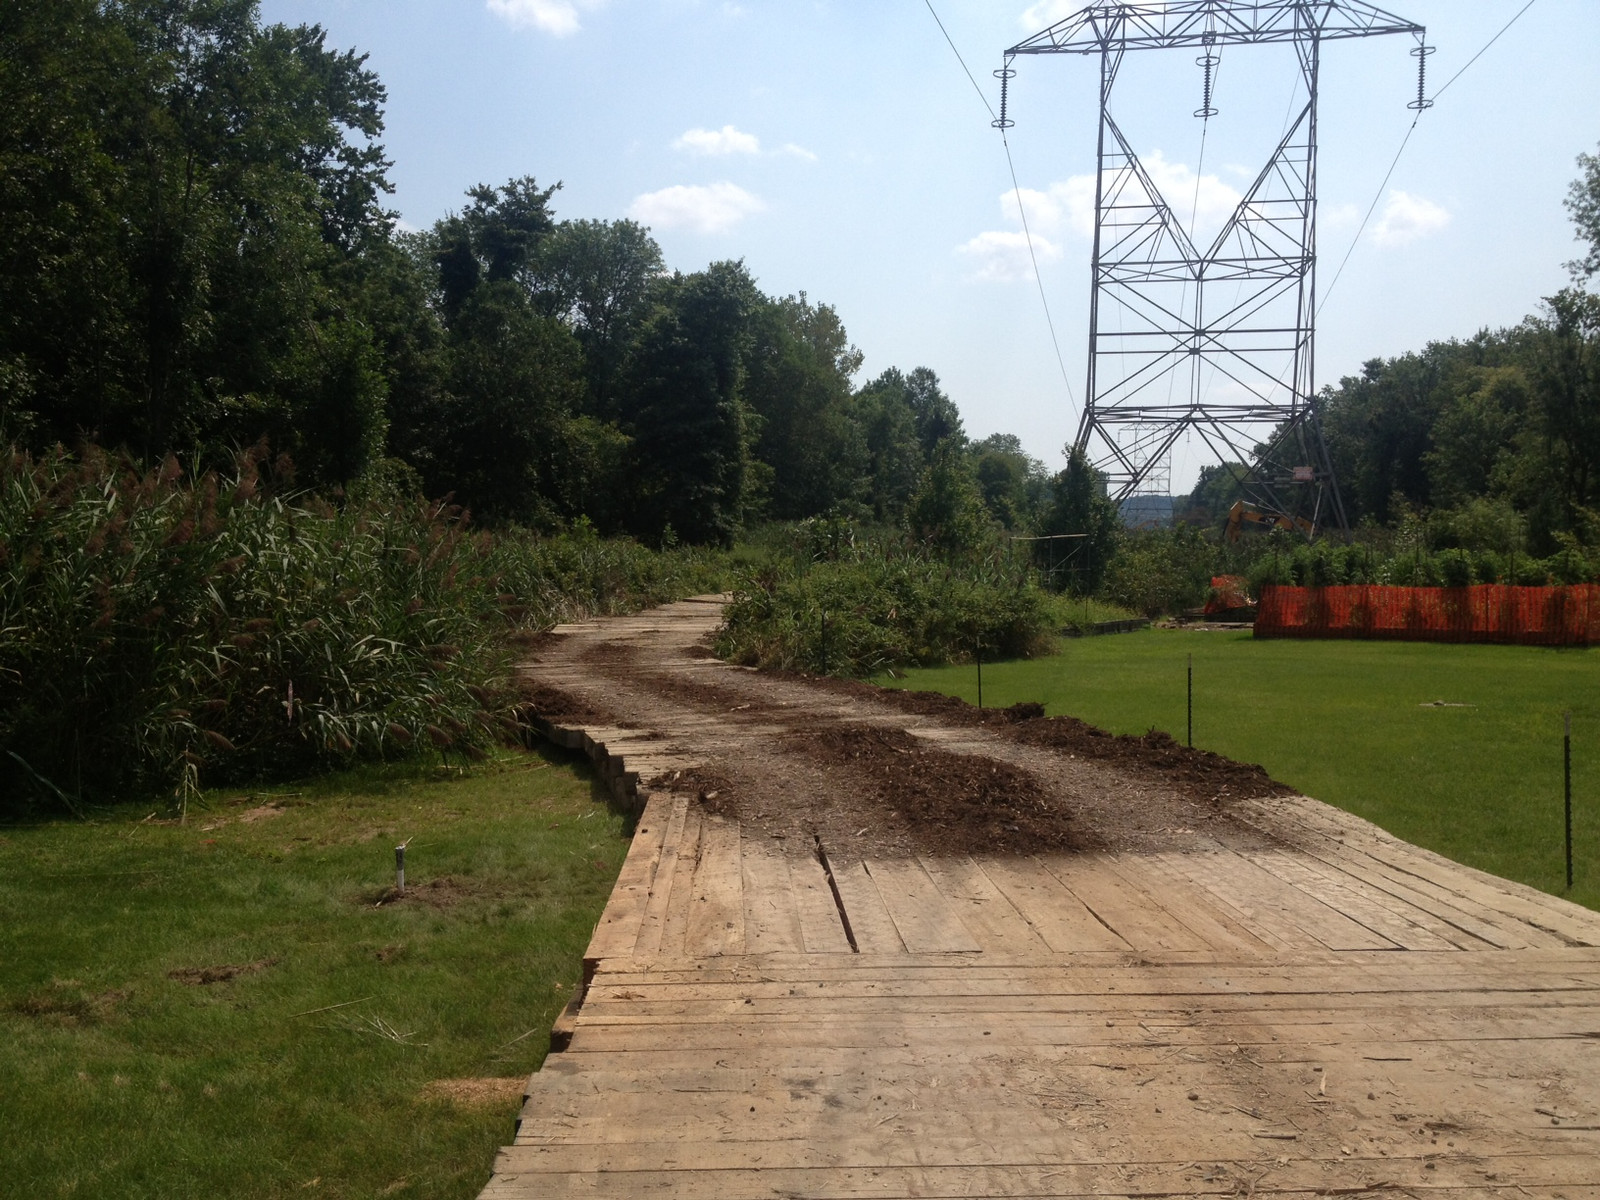
- Decide single-layer vs layered—light traffic on firm ground may run on a single course. Soft marsh, peat, or repeated heavy axle loads usually need a base course across the corridor plus longitudinal bearing paths under the wheel or track lines.
- Stagger joints—stack seams like brickwork. Vertical chimneys of aligned joints punch through to soft soil.
- Build the curve with stagger, not hope—rectangular panels make arcs by overlapping and stepping; leave enough width that duals or tracks stay on timber through the bend.
- Fill traction gaps thoughtfully—a thin dressing of aggregate or mulch on the top course can help tires without hiding a missing panel. Do not use fill as a substitute for coverage.
- Separate crane walks from truck roads when loads differ—a path built for pick-pad reactions is not automatically legal for loaded lowboys, and a road built for trucks may be too narrow or too thin for a crawler.
Suppliers such as The Crane Mat Company stage and deliver panels in the quantities these maps demand—your job is to place them so the bearing path matches the plan, not just the truck count on the ticket.
Transitions, Ramps, and Edge Failures
Most mat failures start at an edge:
- Public road and pad approaches—use a ramp panel or cribbing so the first timber is not a curb the tire has to climb. Abrupt lips spit panels and dig the shoulder.
- Elevation changes—match layers so drivers do not drop a dual into a one-panel cliff. Feather thickness or add a wedge course where grades change.
- Water and soft shoulders—keep runoff from piping under the edge. A undermined edge collapses the same way an un-shored trench does—quietly, then all at once.
- Turnouts and passing pads—plan wide spots so two trucks do not have to leave the mats to pass.
If crews keep “cheating” off the mats to save a minute, widen the layout. Behavior follows geometry.
Inspect Before You Trust Yesterday’s Layout
Reuse is normal; blind reuse is not. Before a second shift or a new pick:
- Check for broken bolts, loose rods, split timbers, and crushed corners.
- Look under panels for voids, mud piping, and panels that have hiked into a crown or dish.
- Retighten or replace hardware that worked loose under vibration.
- Reject panels with soft rot, missing sections, or edges that no longer carry load into the adjacent mat.
- Re-walk crawler lines and re-center outrigger floats after any rain, after any relocation, and after any “temporary” gap crew filled with dirt.
A mat that looked perfect on Monday can be a hinge by Wednesday if water and cycles opened a seam.
Field Checklist Before the Crane Rolls
- Confirm GBP zones, reactions, and travel path from the current lift plan revision.
- Mark mat rows, overlap direction, and double-layer areas on a one-page field sketch.
- Place crawler walks with joints that cross the tracks; verify width beyond track gauge.
- Center outrigger floats on solid contact area sized to the reaction math.
- Build access-road bearing paths for the heaviest axle or track that will use them—not the lightest truck.
- Dress transitions and ramps so edges do not plow or skate.
- Inspect panels and joints after weather and after every major relocate.
- Brief operators and spotters: stay on the mats; call out gaps before the machine finds them.
Bottom Line
Crane mats protect soft ground only when the layout matches the loads: crawler walks oriented to travel, outrigger paths centered on calculated contact area, and access roads layered and overlapped so joints do not stack into failure planes. Material choice matters, but a perfect panel in the wrong pattern still sinks. Map the reactions, place the bearing paths, inspect the seams—and keep the machine on timber that was planned, not improvised.