








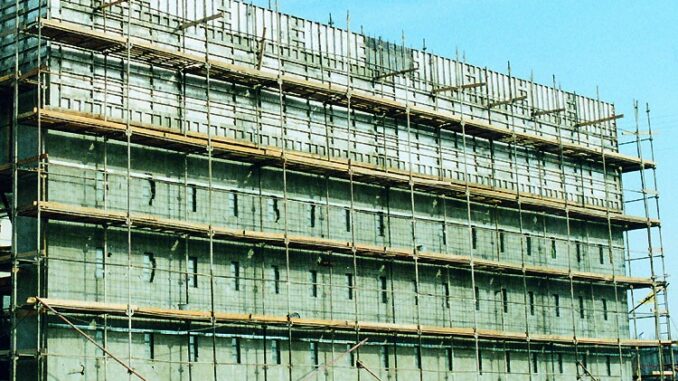
Modular aluminum wall forms promise fast set and strip—until the second lift fights the first, walers telegraph waves, and the plumb bob says the wall walked overnight. Most of those fights are not mysterious. They come from panel layout that ignores openings, ties or pins that were “close enough,” bracing that was never rechecked after the first truck, and pour rates that exceeded what the form-tie spacing was designed to hold.
This guide covers panel sequencing, ties and alignment hardware, pour-rate limits tied to form pressure, and stripping timing so each lift lands plumb without becoming a wrestling match for the next one.
Start With a Layout That Predicts the Next Lift
Aluminum modular systems are built on repeating panel widths (commonly 36-inch modules in many residential and light commercial inventories, alongside fillers and corners). That modulation cuts handling compared with narrow plywood gangs—but only if the layout accounts for doors, windows, bulkheads, and stack joints before the first panel lands.
Draw or chalk the wall in panel modules, not in “we’ll cut fillers as we go.” Place full panels to leave balanced fillers at ends and openings. Stack joints for tall walls should land on a plan that keeps horizontal seams continuous and strongbacks or walers able to bridge them. If tomorrow’s lift will stack on today’s, leave the top rail clean, ties accessible, and bracing anchors where the next story can pick up without cutting out yesterday’s plumbing struts in a panic.
Hand-set versus ganged panels changes crane time, not the need for square, plumb starter courses. A crooked first course repeats every lift above it.
Pins, Ties, Walers, and Strongbacks: The Hardware That Holds Plumb
Modular aluminum forms typically lock side rails with pins and wedges; wall thickness and pressure resistance come from form ties (and manufacturer-rated accessories) that connect opposite faces. Treat every missing pin and every improvised wire wrap as a future blowout or a wavy wall.
Working practices that keep walls true:
- Use the manufacturer’s tie pattern and safe working loads—spacing is a pressure calculation, not a suggestion based on “what we did on the last house.”
- Install ties at the correct length so cones or spreaders set the wall thickness; mixed lengths transfer load oddly and trap hardware in the concrete.
- Add walers and strongbacks where the system calls for them on taller lifts, bulkheads, and stack seams—panels alone are not a substitute for designed stiffness.
- Brace for plumb and wind with pipe braces or equivalent anchors into deadmen or slabs that will not creep when the wall is loaded.
Manufacturers of modular aluminum forming systems—including long-running suppliers such as Precise Forms—publish accessory lists (fillers, corners, ties, braces) because field-fabricated workarounds are how walls go out of plumb. If the catalog has the corner or waler bracket, use it.
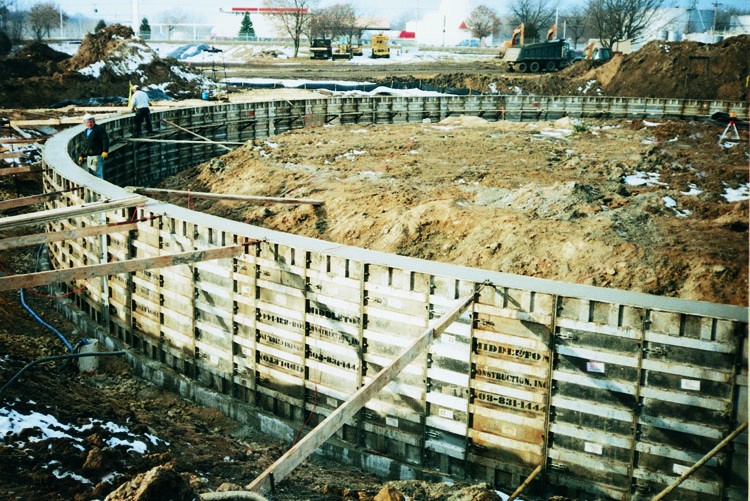
Pour Rate vs Form Pressure: Why Fast Trucks Bend Slow Walls
Fresh concrete exerts lateral pressure on formwork. ACI 347 guidance for walls relates maximum pressure to placement rate, concrete temperature, chemistry coefficients, and unit weight—with pressure never taken above full hydrostatic head for the fluid height, and with minimum pressures applied in the formulas. Cold concrete and fast vertical rise keep the mass fluid longer, so pressure climbs. Internal vibration is assumed in the common wall formulas; treating the vibrator like a lateral pump only makes the problem worse.
Practical translation for modular crews:
- Agree on a maximum vertical rise per hour consistent with the tie spacing and panel rating on the wall you built—not the rating on a different job.
- Slow the pour in cold weather or when retarders/Type III cement increase the chemistry coefficient in design charts.
- Watch the forms during placement—paste leaks, groaning walers, and growing deflection are stop-work signals, not background noise.
- Limit free-fall and lift height so consolidation can stitch layers without needing a hose that blast-loads one corner of the gang.
A wall that was plumb at 7 a.m. can be out an inch at noon if the east end took three trucks while the west end waited. Balance placement along the length and keep the rise even.
Plumbing, Alignment, and the “Next Lift” Problem
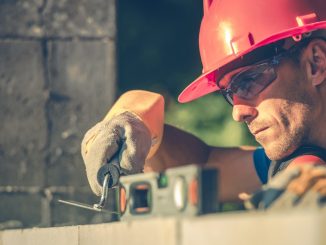
Plumbing is continuous, not a single morning ceremony. After panels are pinned and tied, set braces and check plumb with a spirit level, laser, or plumb bob at multiple stations. Recheck after the first concrete is in the forms—hydraulic load and vibration move things. Corners and openings need extra attention; bucks that were “temporary” become permanent waves if they are not locked to the form face.
When stacking a second lift, clean laitance and debris from the construction joint, continue reinforcement per the structural detail, and land the upper panels so rails and ties line up without forcing. Fighting a twisted lower lift with a crowbar on the upper panels only stores stress until the next pour. If the first lift is out of tolerance, correct it—or grind/chip and accept a reveal—before you multiply the error upstairs.
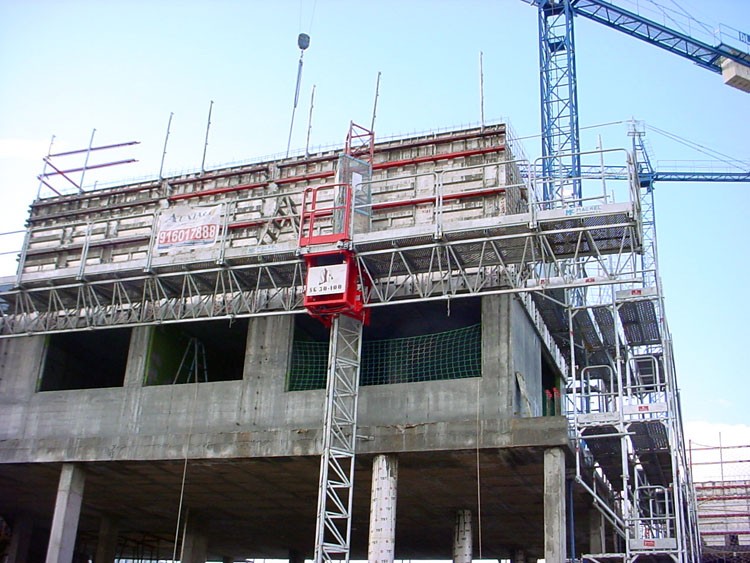
Stripping Timing Without Soft Edges or Stuck Panels
Aluminum’s selling point is rapid strip—but “rapid” still means concrete has enough strength to hold edges and corners. Follow the project specifications and mixture behavior: cold nights, rich mixes, and heavily retarded concrete need more time. Strip sequence usually releases braces and ties in an order that keeps the wall supported until panels are ready to lift free. Bang-off stripping that scars architectural faces costs more than an extra hour of cure.
Clean panels as you go. Concrete buildup on side rails prevents the next set from pulling up tight, which is a common path to stepped joints and leaking paste. Reasonable care is also how modular aluminum inventories reach the high reuse counts manufacturers advertise; abused faces and elongated pin holes show up as crooked walls long before the sheet is “worn out.”
Field Habits That Separate Smooth Jobs From Fighting Lifts
Walk the wall with a short checklist before the truck: panel layout vs openings; all pins and wedges seated; ties at correct length and spacing; walers/strongbacks where required; braces anchored and plumb locked; release agent applied appropriately; pour-rate limit posted for the crew and pump operator; vibrator plan that consolidates without beating forms. After the pour, log any deflection or leaks so the next lift’s tie pattern or rate can change before you repeat the mistake.
Residential basements, stacked housing walls, and commercial panels all obey the same physics. The difference is usually whether the crew treated modular forms as a system—or as shiny plywood substitutes held by optimism.
Openings, Bulkheads, and Corners Without Losing the Module
Window and door bucks are where modular walls go out of square. Build bucks to the same thickness as the wall, fasten them so they cannot float when concrete rises, and back them with kickers that land on something solid. Leave a clear path for ties beside openings; skipping ties in the “hard spots” is how reveals blow and corners rotate. Outside and inside corners should use manufacturer corner panels or fillers that maintain the pin pattern—ripping a panel into an improvised angle usually costs the seal at the rail and the plumb of both walls that meet there.
Bulkheads and stop-ends need the same tie and waler attention as long walls. A bulkhead that relies on a few nails and hope will move when the first cubic yard hits, and the cold joint you create will telegraph through every finish coat. If the pour will stop mid-wall, detail the bulkhead before the truck is on site—not while the chute is swinging.
Final Thoughts
Setting modular aluminum forms so walls plumb up without fighting the next lift is layout, hardware, pressure control, and humility at the joint. Panel modules only save labor when fillers and openings are planned. Ties and braces only hold when they match the pour rate the ACI-style pressure math implies for that day. Stacking only works when the lift below is true. Get those four right and aluminum forms deliver the fast cycle they were designed for. Skip them and the next lift becomes a fight you scheduled yourself.