










Ask a crew how they pick outrigger pads and you will still hear a familiar shortcut: take the float size and multiply by three. Sometimes it is two. Sometimes it is “whatever is in the truck.” The problem is not that multipliers are always wrong—it is that they ignore the two numbers that actually decide whether the machine stays level: maximum outrigger reaction and allowable ground bearing pressure. When those are skipped, soft soils settle, finished slabs crack, and lift plans become theater.
Sizing pads from ground bearing pressure (GBP) is not exotic engineering. It is a short workflow any superintendent can run before the crane or boom truck rolls onto the pad: find the worst-case leg load, divide by what the ground (or pavement) can take, convert that force into area, then pick a pad—or pad-plus-cribbing stack—that delivers at least that footprint under the float. This guide walks that math and the soft-soil reality checks that keep it honest.
Start With the Load, Not the Float
The float is the metal shoe on the end of the outrigger. It is small by design. Alone, it concentrates tons into a few square feet. The pad’s job is to enlarge the contact area so peak pressure drops below what the supporting surface can carry without punching, sinking, or rotating.
Before you talk pad size, lock down the force you are spreading:
- Maximum outrigger reaction—from the manufacturer’s chart, the lift plan, or a qualified person for the configuration you will actually use (boom length, radius, load, outrigger span, and whether the machine is on rubber or fully set). Do not size to a “typical” pick if the day’s chart shows a higher corner load.
- Dynamic and setup factors—wind, swinging, pick-and-carry limits, and short-duration setup spikes can exceed static chart values. Follow the OEM and lift-plan guidance; do not invent a comfort factor after the fact.
- Which leg is worst—asymmetric picks and side loads put more reaction on one corner. Size pads for the highest single-leg reaction, not the average of four.
Write that reaction down in pounds (or kips). Everything else hangs on it.
The GBP Sizing Workflow
Ground bearing pressure is force divided by area. Rearrange it and you have the pad area you need:
Required pad area = Maximum outrigger reaction ÷ Allowable ground bearing pressure
Worked in consistent units:
- Take max reaction in pounds (lb).
- Take allowable bearing pressure in pounds per square foot (psf)—from a geotech note, site soil report, pavement engineer, or a conservative published range for the soil class when no better number exists.
- Divide: lb ÷ psf = square feet of contact area required under that outrigger.
- Convert to pad dimensions. A square pad needs side length ≈ √(required area). A rectangular pad needs length × width ≥ required area. Round up to a manufactured size; never round down to make the inventory fit.
- Confirm the float sits fully on the pad with margin—edge loading shrinks effective area and spikes edge pressure.
Example (illustrative only): a 45,000 lb peak outrigger reaction on soil limited to 2,500 psf needs 45,000 ÷ 2,500 = 18 sq ft of bearing area. That is roughly a 4.25 ft × 4.25 ft square—so a 48-inch pad is short, and a 60-inch pad (25 sq ft) clears the math with room for imperfect centering. Change the soil to a soft fill at 1,500 psf and the same reaction needs 30 sq ft—now you are stacking area with mats or cribbing under the pad, not hunting a magic “3× float” board.
That is the whole point: the multiplier changes with soil. The formula does not.
Why “3× the Float” Fails on Soft Ground
Float-area multipliers assume the ground under yesterday’s job looks like today. It rarely does.
- Soil capacity swings by an order of magnitude—dense gravel and engineered fill can support several thousand psf; wet clay, loose fill, and freshly placed embankments may support a fraction of that. The same float multiplier that worked on a compacted yard can punch through a utility easement.
- Float size is not a soil property—two machines can share a similar float and demand wildly different pad area once chart reactions differ.
- Effective area shrinks in the field—mud squeezed out from under one edge, a rock under a corner, or a float hanging past the pad cuts the contact you thought you bought.
- Pavement is not infinite—asphalt and thin slabs can bridge for a moment, then crack or dish when the pad is undersized for the reaction and the subgrade is weak.
Use multipliers only as a conversation starter on firm, known ground when you already know they exceed the GBP calculation. Never use them as a substitute for the calculation on soft, unknown, or finished surfaces.
Soft-Soil Reality Checks Before You Trust the Number
Allowable bearing pressure is only as good as the surface under the pad. Run these checks before you treat the spreadsheet as gospel:
- Identify the soil class at the setup points—not the site average. Probe or dig adjacent to each outrigger location. Watch for fill seams, buried debris, and recent excavations.
- Watch water—standing water, a high water table, or overnight rain can cut capacity fast. Recheck after storms.
- Proof the surface—if the pad rocks, pumps mud, or shows progressive settlement under a light setup load, stop and add area or improve the base before the pick.
- Underground risks—vaults, shallow utilities, and poorly compacted trenches create soft spots that a chart psf never captured. Mark and avoid or bridge with engineered mats sized for the span.
- Slope and grade—pads on a grade concentrate load downhill. Level the contact plane with approved cribbing or a prepared pad—do not shim with scrap lumber that crushes.
When the allowable pressure is uncertain, treat uncertainty as lower capacity: increase area, improve the base, or get a geotech or qualified person to set a number. Guessing high on soil strength is how floats disappear into soft clay.
When One Pad Is Not Enough: Cribbing and Mats Under the Pad
Sometimes the largest pad in the truck still undershoots the required area, or the topsoil is too soft for a single thin plate to engage a competent layer. Then the pad becomes the top of a spread system:
- Add area under the pad—timber or composite mats, interlocking cribbing, or additional pads that enlarge the footprint so the average pressure on the weak layer drops.
- Build a level, interlocking stack—cribbing under a pad must be stable, aligned, and rated for the compression. Loose blocks that walk or crush erase the area you just calculated.
- Reach competent material—on deep soft fill, spreading alone may not be enough; you may need thicker mats, a prepared crane pad, or a different setup location.
- Keep the float centered—every layer in the stack should fully support the layer above. Cantilevered floats turn your neat GBP math into edge crushing.
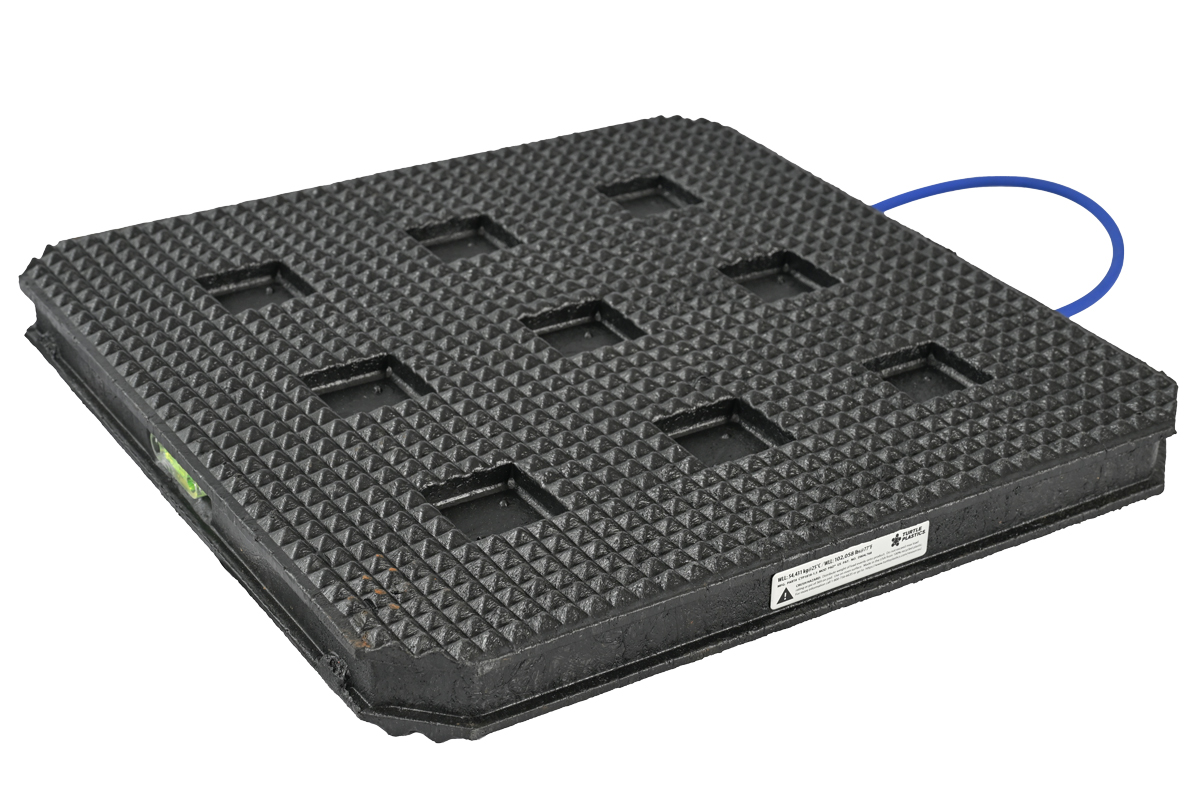
Think of the pad as the durable contact face. Think of cribbing and mats as the tools that create the area the soil (or pavement structure) actually needs. Products and systems from specialists such as Turtle Plastics are one way crews assemble that contact area with interlocking cribbing and pad faces—your lift plan still has to prove the square footage against the reaction and the allowable pressure.
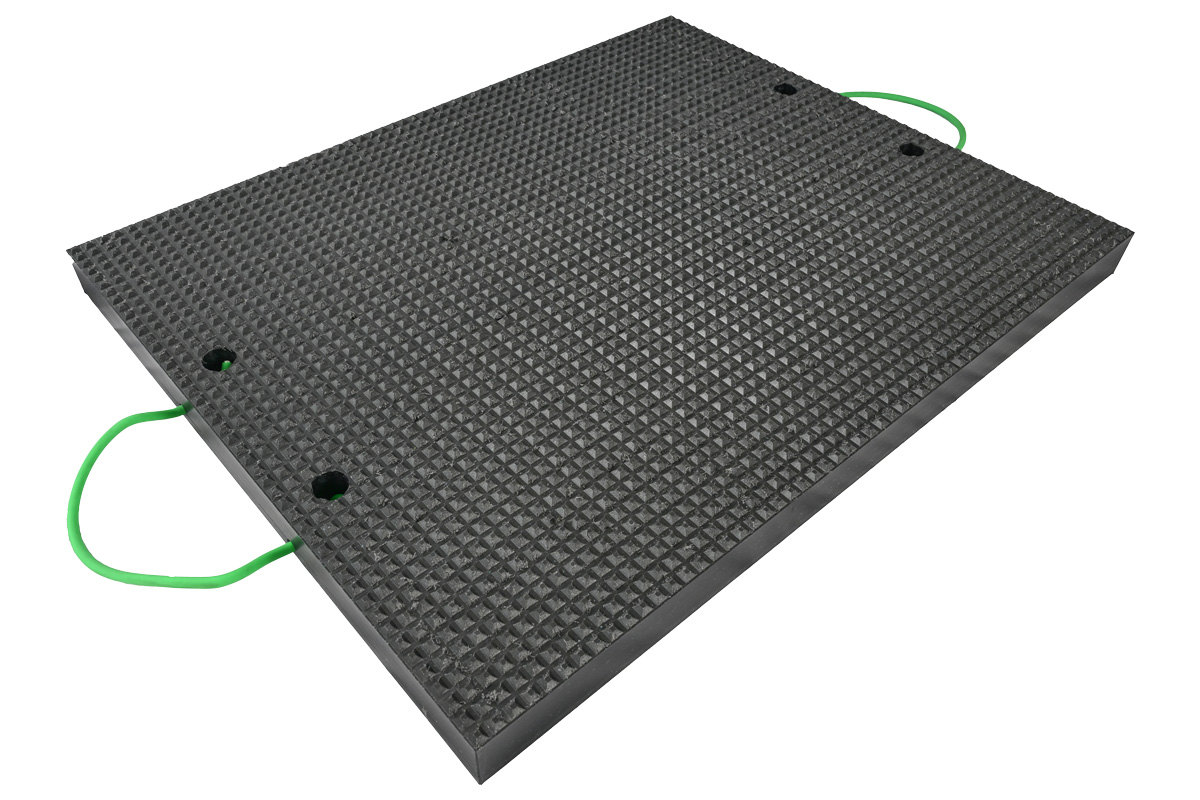
Finished Concrete and Asphalt: Area Plus Surface Protection
On new slabs, decorative concrete, tile, and fresh asphalt, undersizing shows up as cracks, wheel-path dishes, and permanent marks—not just settlement. The GBP workflow still applies, often with a pavement or structural engineer’s allowable pressure instead of a soil chart. Add surface-protection discipline:
- Use pads with faces that will not gouge, stain, or leave aggressive imprint patterns the owner will reject.
- Keep the underside clean—embedded stone turns any pad into sandpaper.
- Avoid point-loading thin toppings; if the structure cannot take the pressure, spread further or relocate the setup.
- Document pre-existing cracks with photos before setup so punch-list fights do not become yours alone.
Finished-surface work is still a sizing problem first. A soft, non-marring pad that is too small is still an expensive stamp.
Inspection: Crush, Set, and Lost Area
Pads and cribbing earn their ratings only while they keep their shape and contact area. Before each mobilization:
- Check for permanent set, crushed corners, deep gouges, and cracked or delaminated faces.
- Verify handles, labels, and rated capacities are legible—if the rating is gone, so is your documentation trail.
- Reject timber that is rotten, split through, or soaked into a sponge; reject plastics or composites with crush zones under the float footprint.
- After the job, re-inspect. Progressive crush means your effective area is shrinking job over job even if the nominal size on the stencil has not changed.
A pad that has lost thickness under the float is no longer the area you calculated last quarter.
Field Checklist: Size It, Then Set It
- Pull max outrigger reaction for the actual configuration.
- Confirm allowable bearing pressure for each setup point (soil or pavement).
- Compute required area; select pad size at or above that area.
- If inventory is short, add mats/cribbing to create the missing square footage—or change the setup.
- Level and center the float; eliminate edge loading.
- Proof for settlement before the critical pick; stop if the ground moves.
- Protect finished surfaces and document conditions.
- Inspect pads and cribbing for crush and set before the next job.
Skip the folklore multiplier when the ground—or the finished floor—will not forgive it. Force, area, and allowable pressure are the whole story. Get those three right and outrigger pads stop being guesswork and start being what the lift plan already assumed they were: engineered ground support.