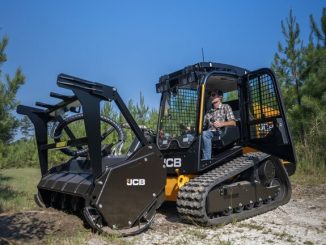

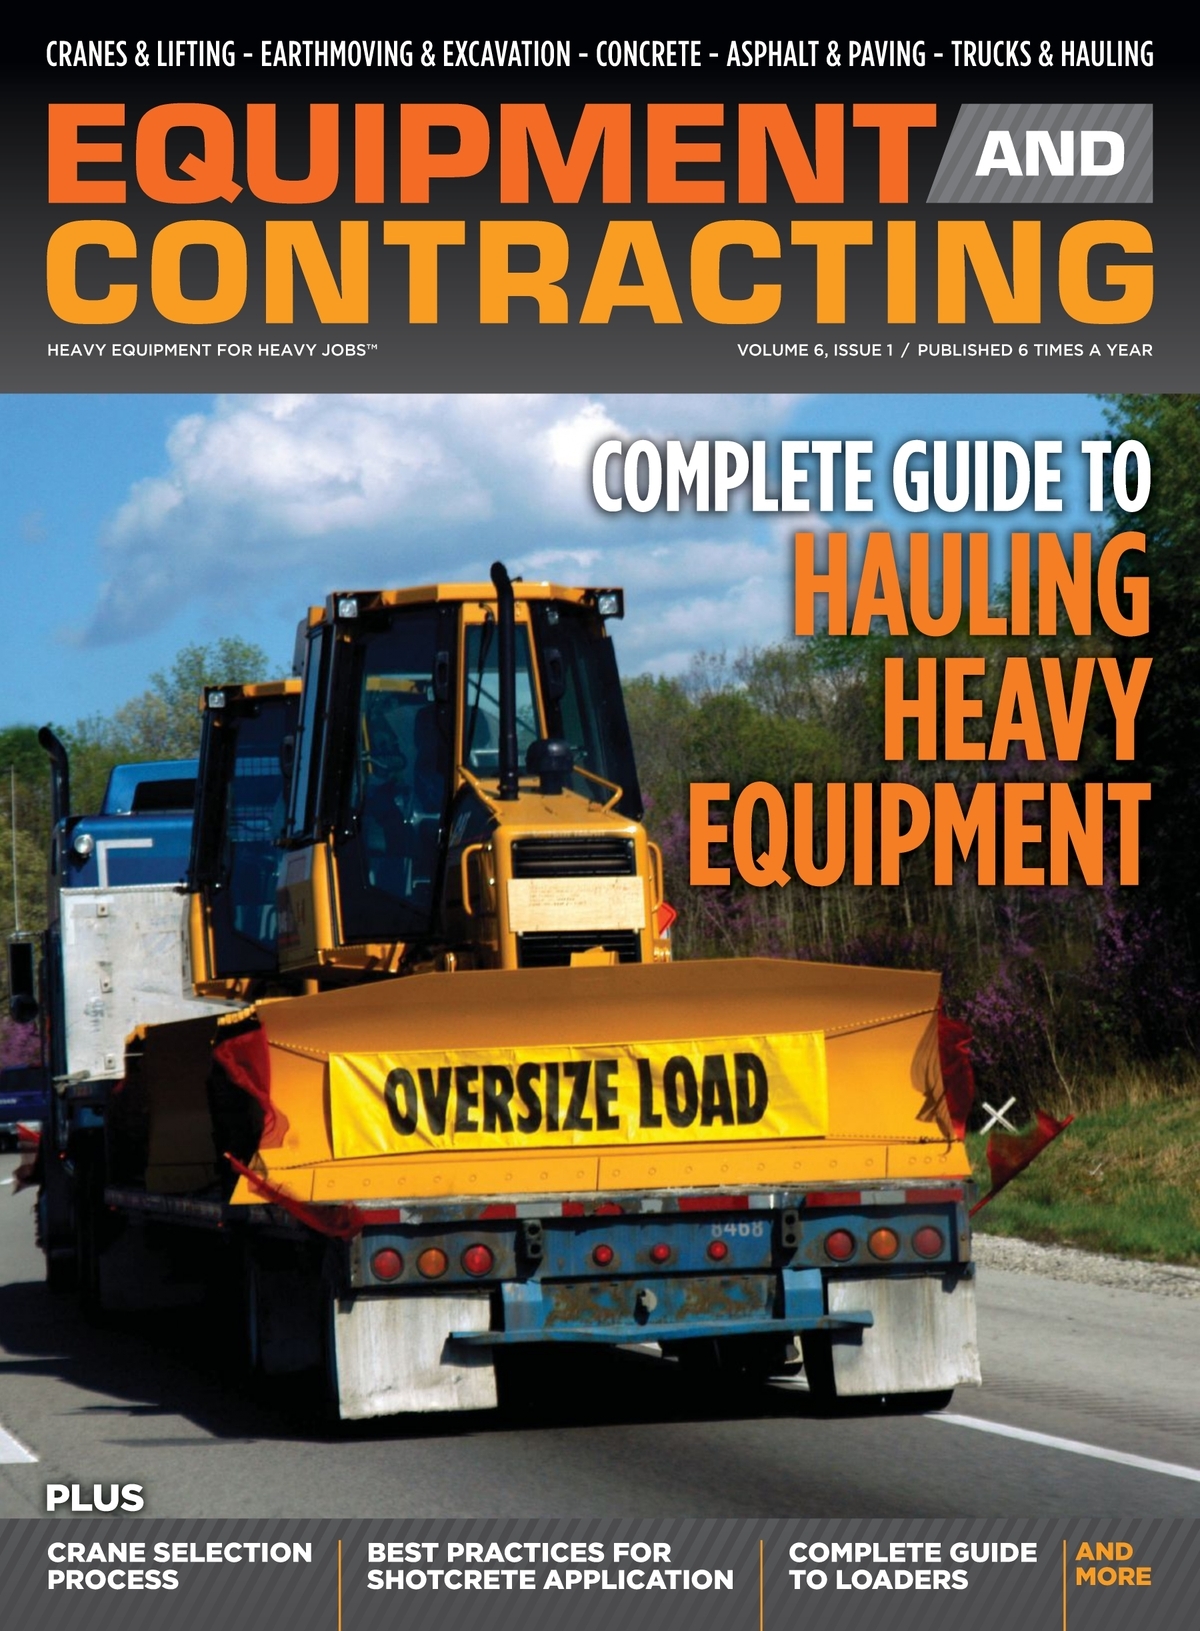



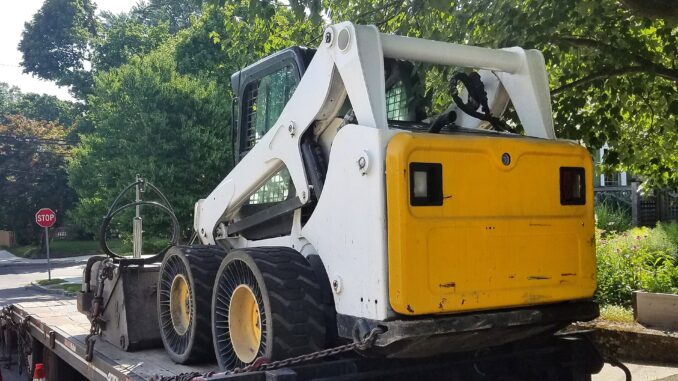
Loading a skid steer, mini excavator, or compact track loader onto a deck-over trailer looks simple until the undercarriage scrapes, a track walks off a narrow ramp, or a binder loosens twenty miles down the road. Deck-over trailers put the deck above the wheels for width and versatility—but that height raises ramp angles and makes loading technique non-negotiable. This guide is a field how-to for loading and securing construction equipment on deck-overs without chewing up belly pans, track frames, or tire sidewalls.
It is not a multi-axle RGN spec sheet and not a material-dump trailer article. The goal is a repeatable sequence: pad, ramps, drive-on, position, secure, recheck.
Know the Trailer Geometry Before the Machine Moves
Deck-over height commonly sits in the mid-30-inch loaded range on many tag-style construction trailers, though exact numbers vary by tires, suspension, and load. What matters is the combination of deck height, beavertail length, and ramp length—the package that sets approach and break-over angles. Short ramps on a tall deck create the scrape zone under CTLs and low-clearance attachments.
Walk the trailer empty and confirm:
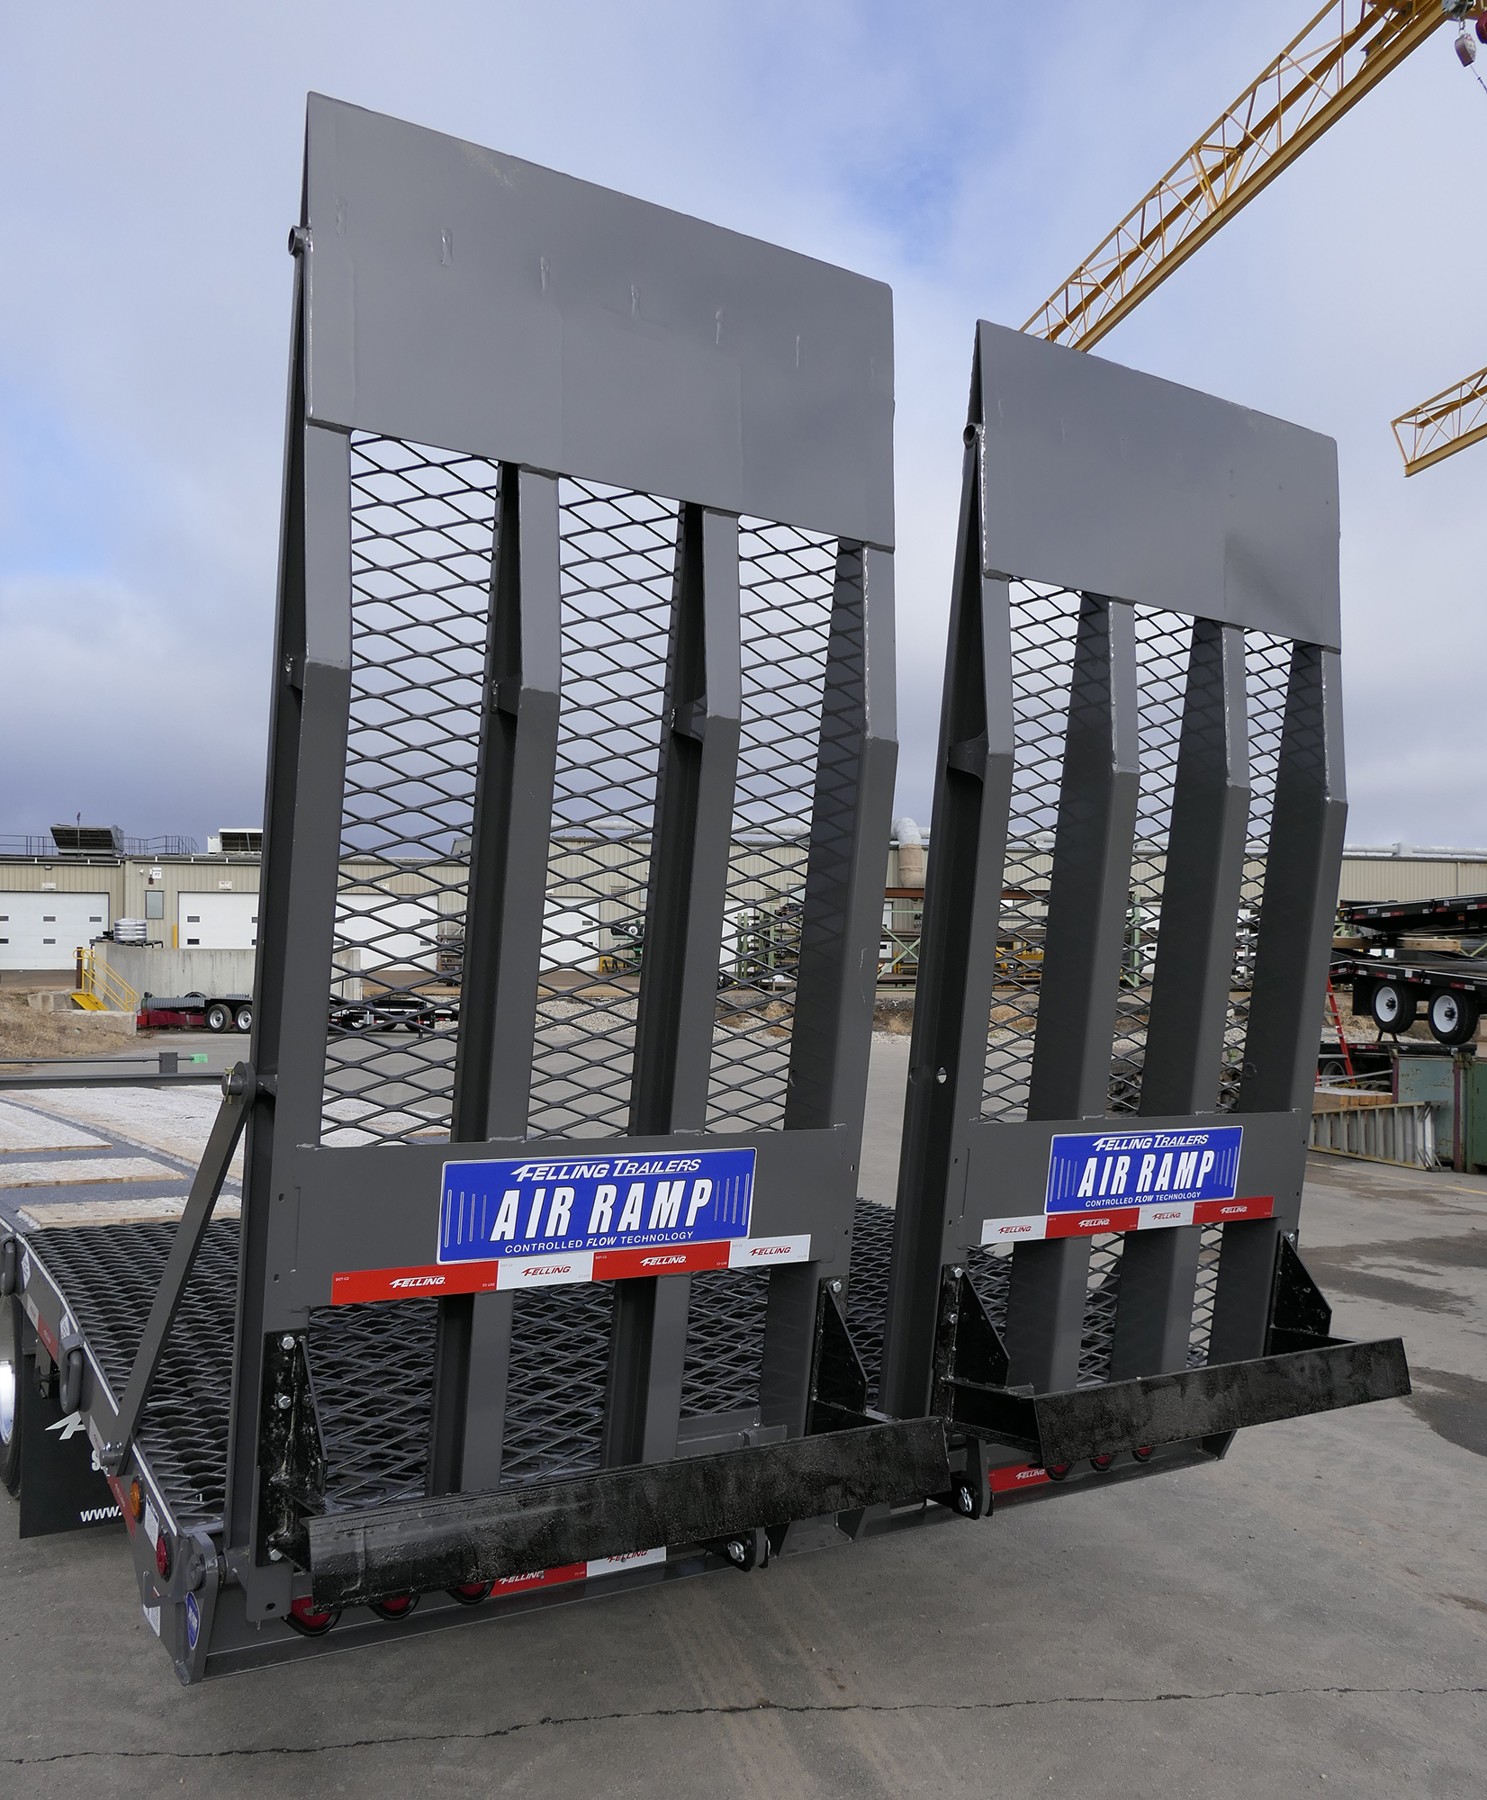
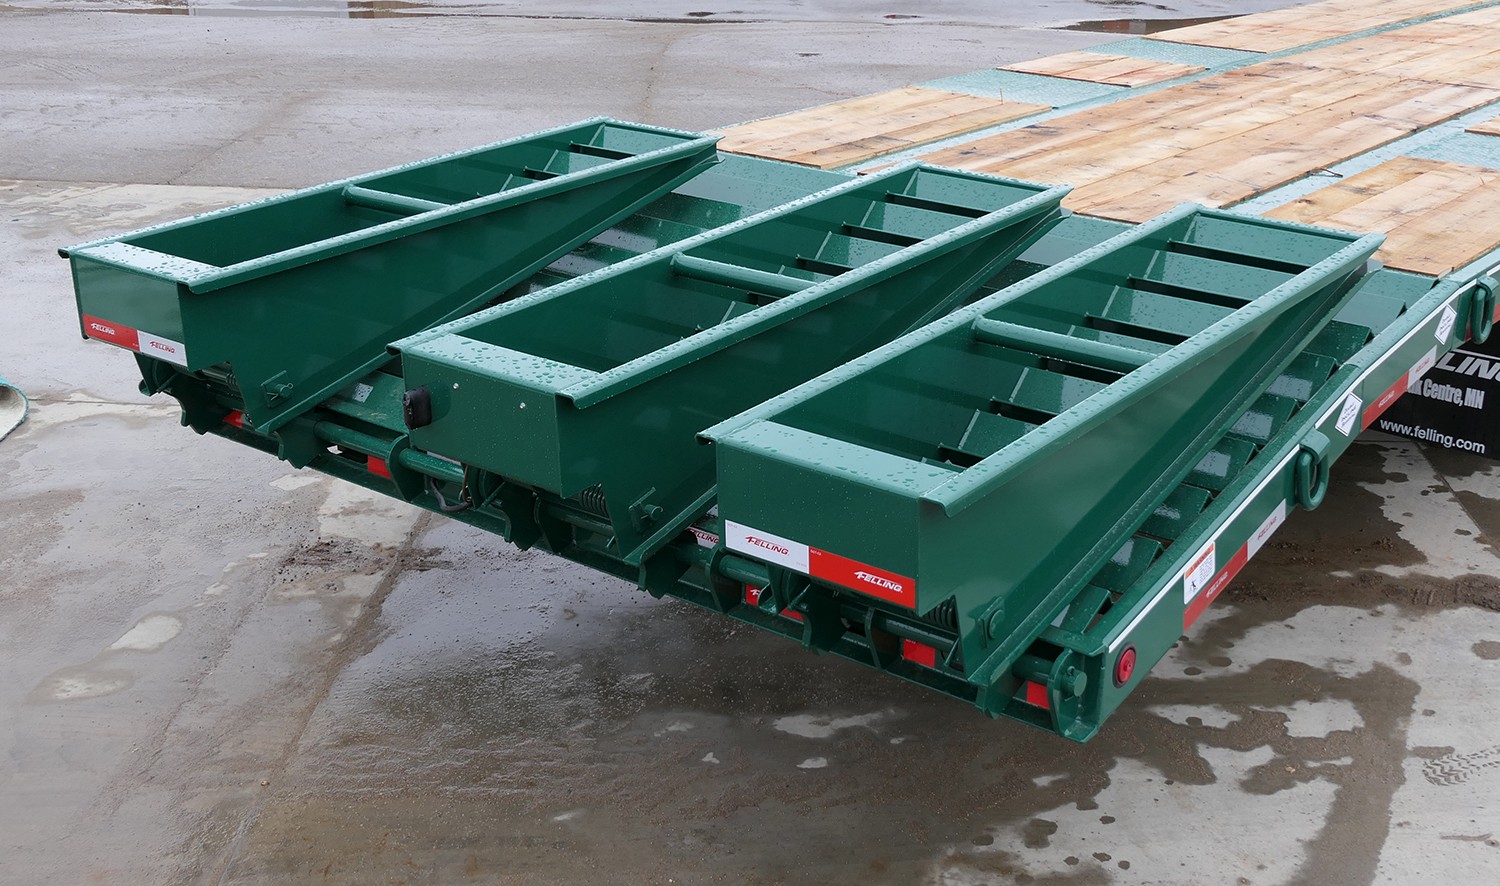
- Ramp length and lock style—stand-up, spring-assist, air, or hydraulic; pins seated before anyone drives.
- Beavertail or dovetail profile—how sharp the transition is from ramp to main deck.
- Deck surface—wood, apitong, or self-cleaning angle iron; wet wood changes traction overnight.
- D-ring map—count and location relative to where the machine will sit.
If the geometry is wrong for the machine, no amount of “feathering the controls” fixes a chronic belly scrape. Change ramps or trailer before you normalize damage.
Pad, Spotter, and Loading Sequence
Start on firm, level ground. Soft shoulders let a ramp dig in on one side and twist the machine as it climbs. Use cribbing or mats under ramp feet when the pad is questionable. Chock the trailer and verify hitch connection, lights, and brakes before loading—not after the machine is already on the deck.
Use a spotter. The operator’s sight lines on a steep ramp are poor; a spotter keeps tracks or tires centered and calls stop before a scrape becomes a gouge. Drive on slowly in a low gear or idle-up mode appropriate to the machine. Avoid mid-ramp steering corrections that scrub rubber or walk a track toward the ramp edge.
For tracked machines, keep both tracks fully supported. Narrow dual ramps that leave the center of a CTL unsupported invite undercarriage contact on the beavertail hinge line. Wider ramps, a center ramp, or a full-width ramp package exist specifically to keep track frames and belly pans off steel. Wheeled skid steers forgive narrow ramps better than long-track CTLs—but low rear doors and counterweights still catch steep crests.
Once on the main deck, position the machine to the load plan: centered laterally, fore-aft balance for tongue and axle groups, attachments lowered or secured so they cannot swing. Set the parking brake and, where applicable, lower the bucket or blade to the deck as a supplemental stabilizer only after primary securement points are planned—not as the only “tie-down.”
Securement: Chains, Binders, and Approved Anchor Points
Highway vibration loosens lazy securement. Use rated chains or straps with working-load limits appropriate to the machine weight, and binders that match the chain grade. Four-point securement is the professional baseline for compact equipment on deck-overs: front and rear on both sides, with angles that resist forward, aft, and lateral movement.
Attach only to the machine manufacturer’s approved transport points. Lift eyes that are rated for vertical picks are not always rated for the direction changes of a bouncing trailer. Rub rails and stake pockets can guide a chain, but the load path should end in rated D-rings on the trailer and approved anchors on the machine.
After the first few miles—or the first hard brake—stop and recheck binders. Loads settle; wood decks compress; tracks shift a fraction. A two-minute recheck prevents a binder finding the pavement at highway speed. Flag loose ends so chain tails cannot drag or foul tires.
Overhang deserves its own decision. Buckets or booms that extend beyond the rear need flags, lights, or permits when they exceed state limits—and they change weight distribution. If the attachment creates illegal or unstable overhang, remove it and haul it separately rather than hoping a red flag fixes physics.
Track Versus Tire Machines: Different Failure Modes
CTLs and mini excavators punish steep break-over angles and unsupported spans between ramps. Their long contact patches hide how much of the undercarriage is about to kiss the hinge. Skid steers on tires can spin on wet wood and slide sideways off a ramp edge; they need traction discipline more than they need ultra-shallow angles—though shallow still helps low rear clearance.
Mud-packed tracks add weight and reduce clearance. Clean what you can before loading when scrapes are already marginal. Ice and clay on wood decks turn loading into a recovery drill; delay or add traction rather than “punching it” up the ramp.
Winch-assist belongs in the plan when traction is marginal—not as an improvisation after the machine is stuck halfway up. Mount and cable ratings must match the machine weight. Keep bystanders out of the cable snap-back zone and stop the pull if the machine starts to climb a ramp edge instead of the ramp face.
Night moves and poorly lit yards deserve extra spotter discipline. Depth perception on ramps collapses under glare and shadow; if you cannot see both track edges clearly, add light or wait. Most undercarriage scars are collected in the last hurried load of the day.
Inspect the trailer after hard weeks the same way you inspect the machine: ramp hinge pins, air or hydraulic leaks on powered ramps, cracked welds at D-ring pads, and wood deck fasteners that have worked loose under track chatter.
Deck-over equipment trailers from builders such as Felling Trailers offer ramp packages—including spring-assist, air, and hydraulic options—aimed at safer loading angles and less manual ramp wrestling, but the operator sequence still decides whether the undercarriage survives the week.
Field Checklist Before You Pull Onto the Road
- Trailer chocked, hitch locked, ramps pinned or powered into load position on a firm pad.
- Spotter in place; machine centered; slow drive-on without mid-ramp steering drama.
- Machine parked on the planned load line; attachment secure; parking brake set.
- Four-point (or better) securement to approved anchors; binders tight; tails secured.
- Lights, brakes, and breakaway verified with the machine loaded.
- Recheck binders after the first miles; confirm no overhang or permit issues.
Final Thoughts
Document the load plan for each machine type in the fleet—ramp configuration, load line marks on the deck, chain points, and a photo of a correct load. New operators should not reinvent geometry at dawn with a customer waiting. Consistency is how undercarriage damage stops being “just how we load.” Laminate that sheet in the truck book next to the registration.
Deck-over trailers earn their width and versatility only when loading angles and securement habits protect the machine. Match ramp packages to CTL and skid clearance, load on firm pads with a spotter, and chain to rated points as if the highway will try to untie your work. Do that consistently and you haul equipment—not a trail of scraped undercarriage and roadside binder stories.