
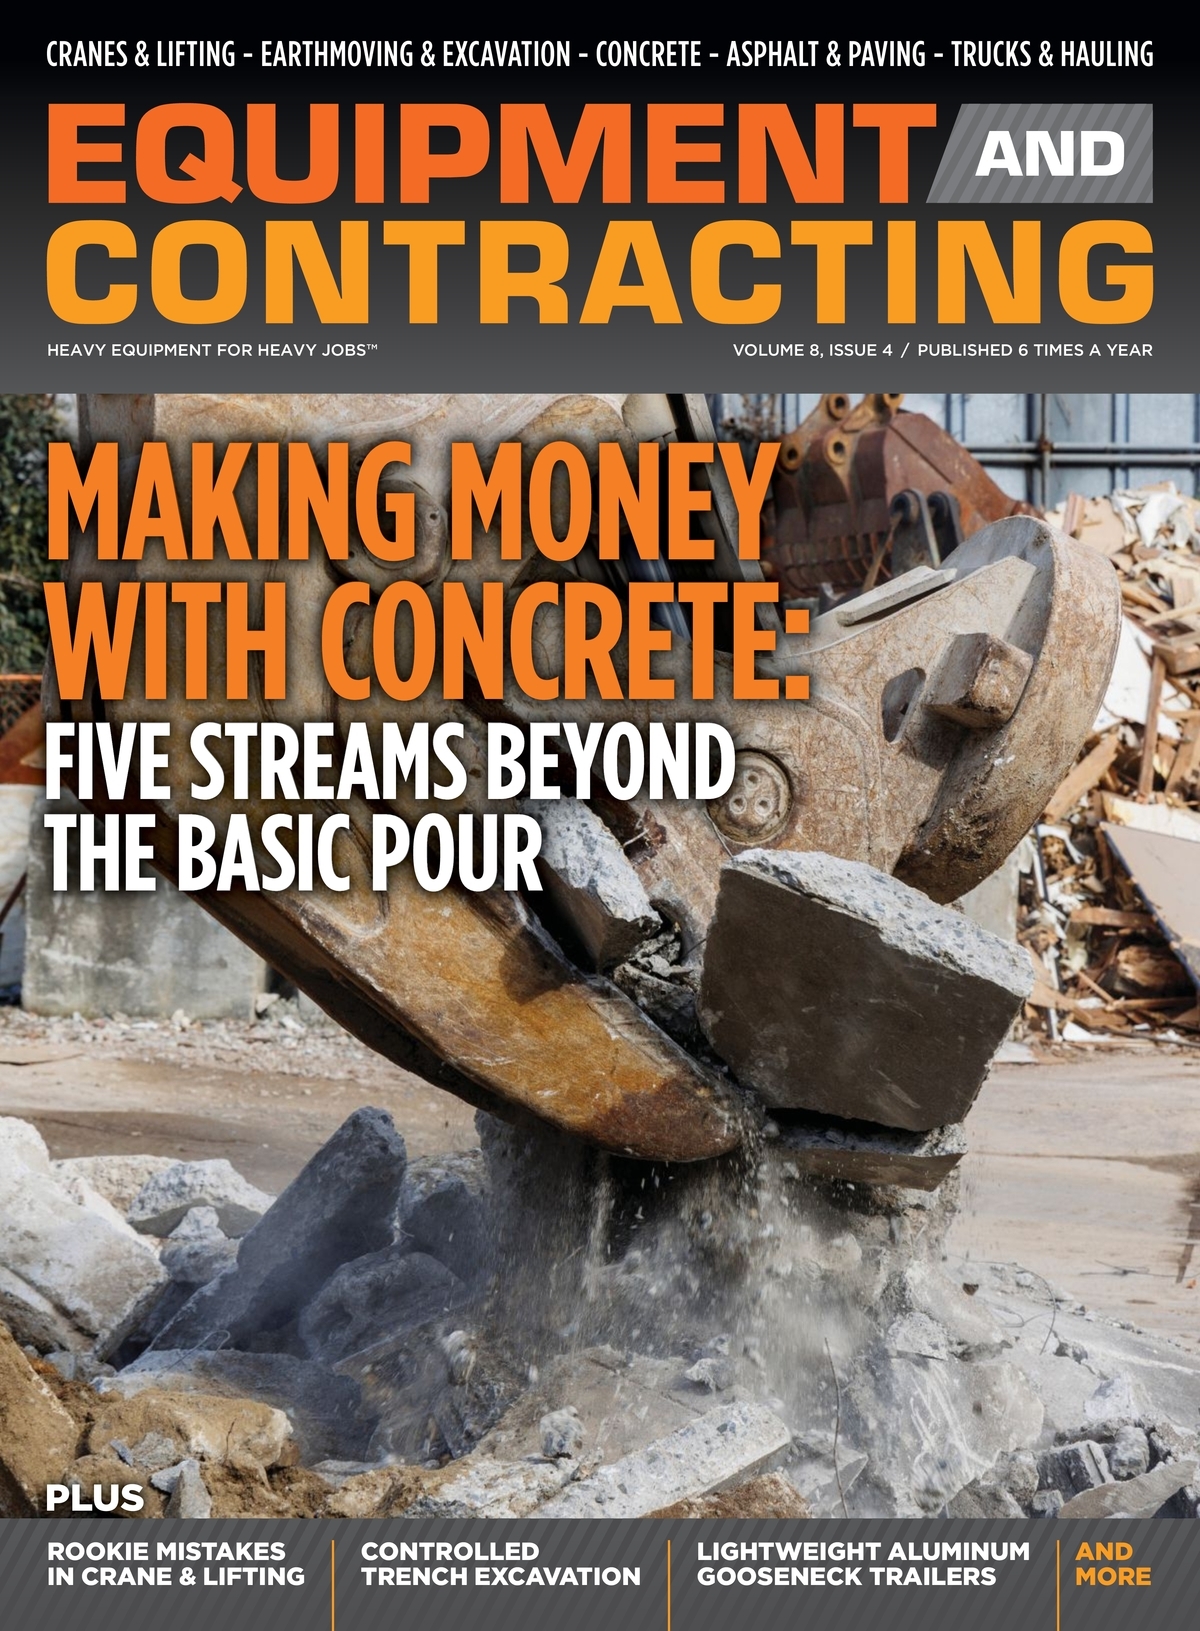

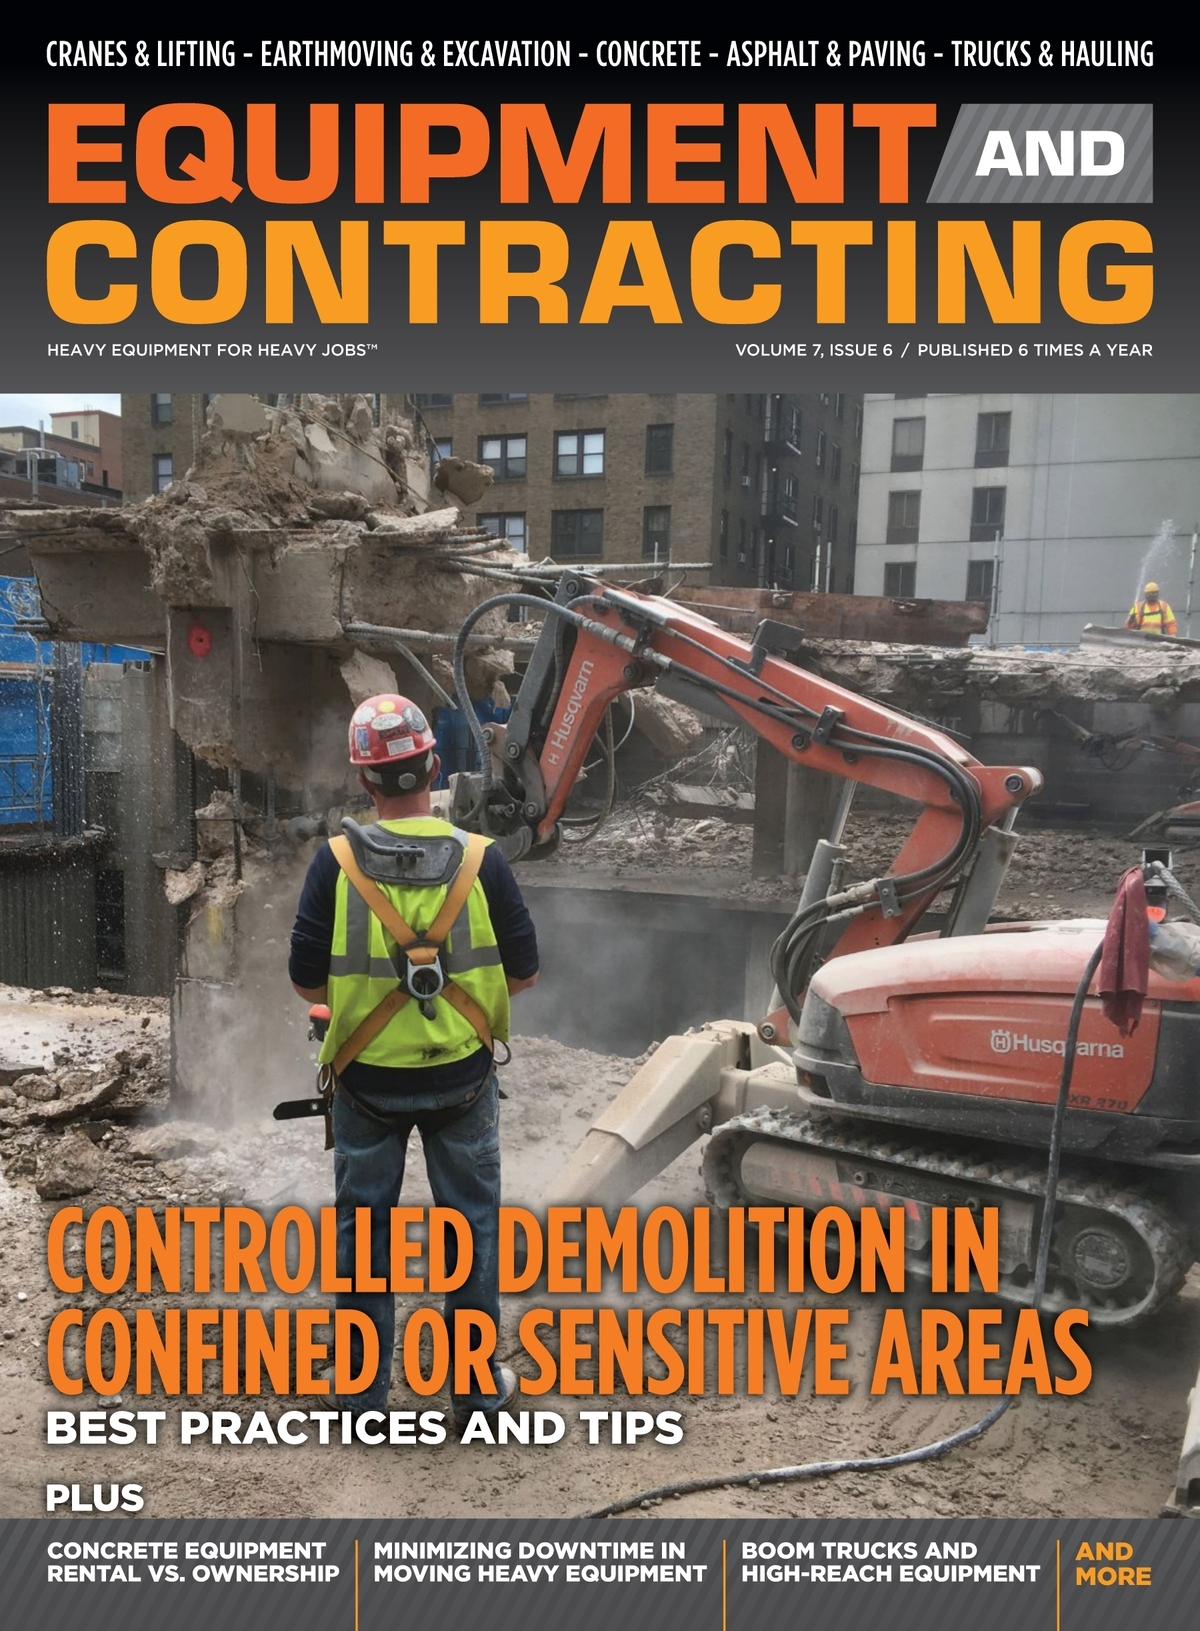







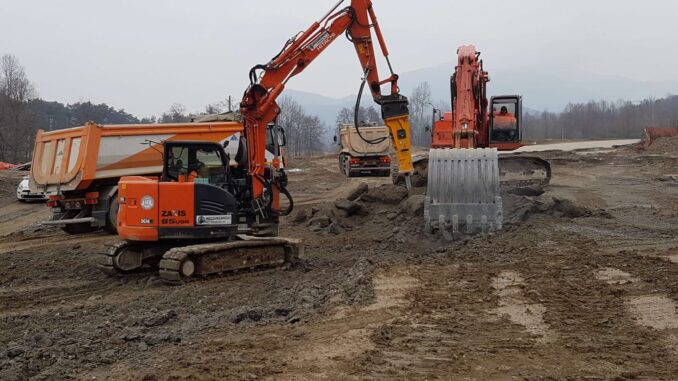
A hydraulic breaker that is too big for the carrier cooks pins, cracks stick bosses, and teaches operators to blank-fire when the tool cannot stay seated. A breaker that is too small for the work burns hours, overheats oil, and still ends up on a larger machine after the schedule slips. Sizing to carrier weight—and then running the tool so it never fires on empty—protects both the excavator and the breaker.
This guide is about how to size a hydraulic breaker to carrier weight without cooking pins or blank-firing the tool: weight-class bands, oil flow and pressure, tool-steel selection, operating habits that keep the bit loaded, and when renting or buying a larger carrier is cheaper than forcing a mismatch.
Carrier Weight Bands Come First
Breaker manufacturers publish recommended carrier operating-weight ranges for each hammer model. Those bands exist because the excavator must hold the breaker firmly into the material, absorb recoil, and supply stable hydraulic power. A hammer that is heavy for the machine lifts the tracks, pounds the pins, and forces the operator to “peck” instead of seat the tool. A hammer that is light for a large excavator may survive structurally but often lacks the energy class for the rock or concrete you face—productivity dies even if the pins do not.
Use the excavator’s true operating weight in working trim (counterweight, couplers, and fluids as configured)—not a brochure minimum. Confirm the stick and coupler are rated for hammer duty. Some machines need auxiliary hydraulic packages, cases drains, or specific spool types to run a breaker without overheating or spoiling other circuits.
Oil Flow, Pressure, and Heat
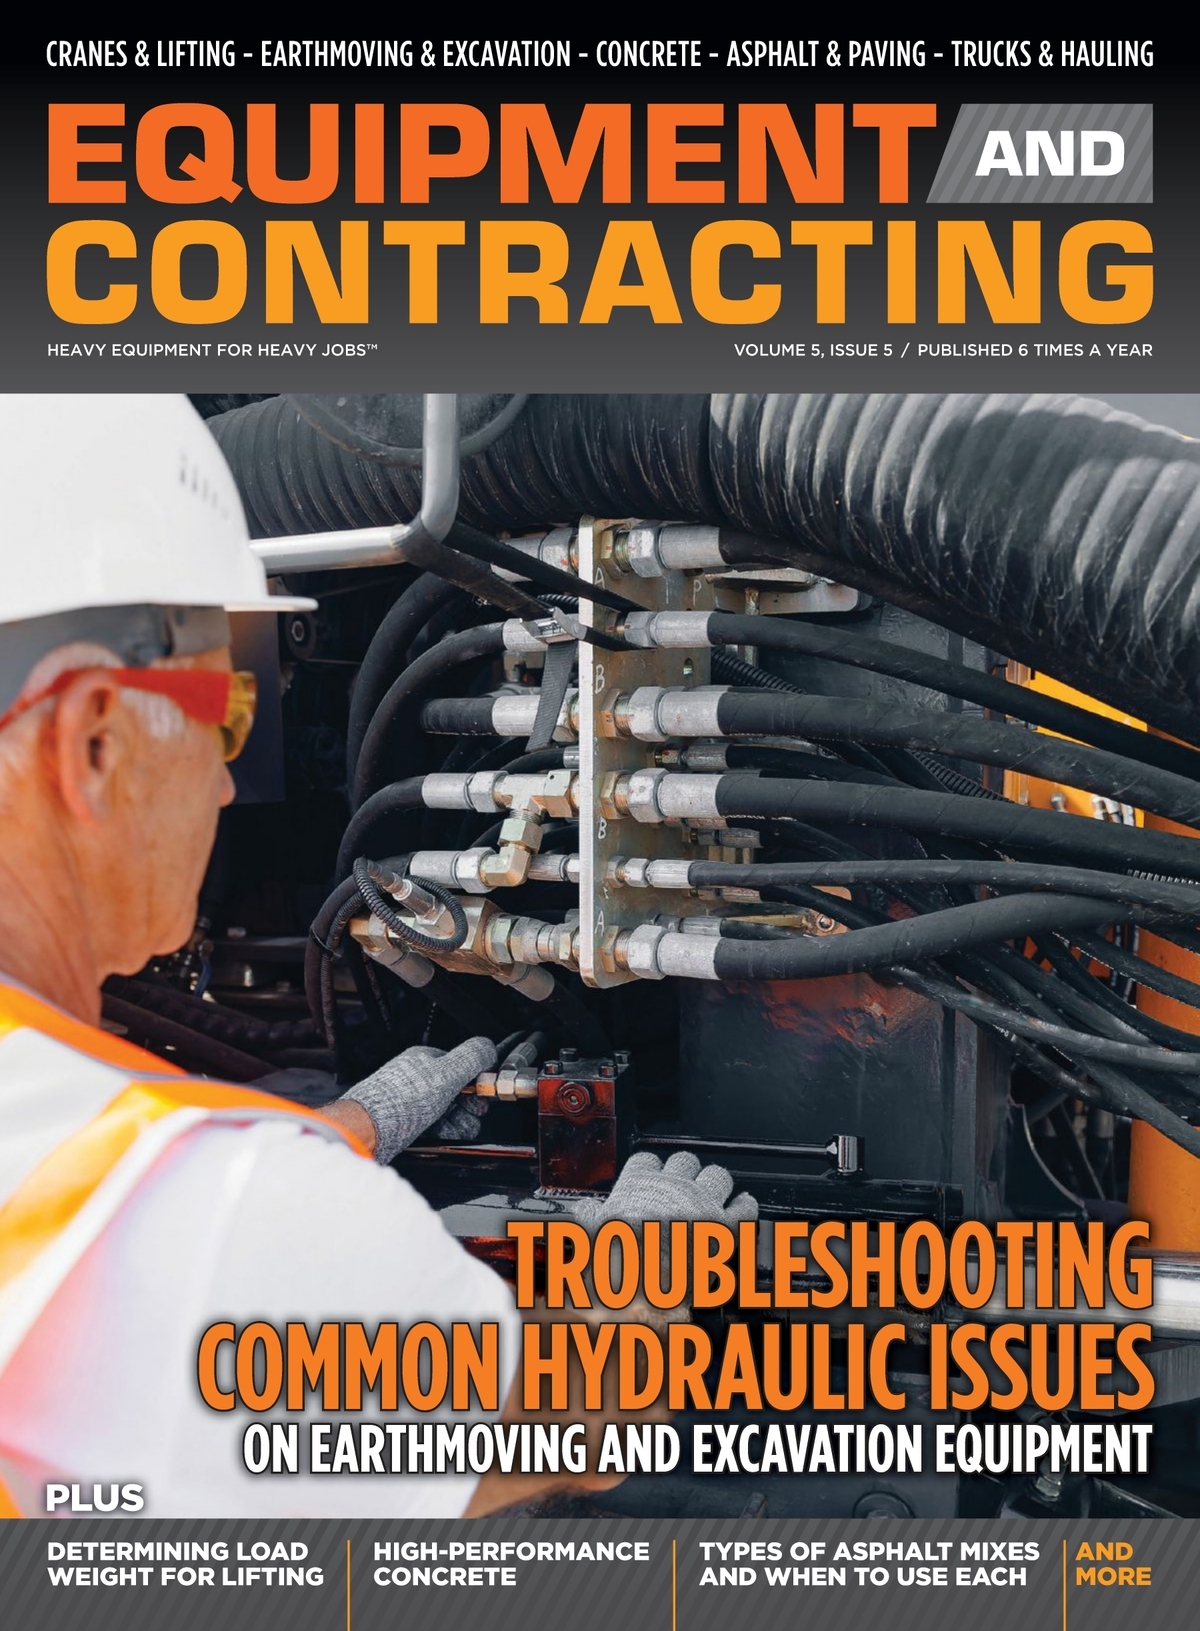
Match the breaker’s required oil flow and operating pressure to what the carrier actually delivers at the hammer circuit—not to the main pump’s headline number. Too little flow and the breaker starves; too much flow without proper regulation dumps heat and can damage seals. Return-line back pressure and case-drain routing matter on many designs; follow the breaker manual’s hose sizes and routing so you do not create a hidden restriction that cooks oil by mid-morning.
Heat is a systems problem. Continuous blank-firing, wrong flow, clogged coolers, and high ambient temperatures stack. Watch oil temperature and breaker housing temperature during the first full production hour on a new match. If the excavator is constantly at high RPM just to keep the hammer alive, the match—or the hydraulic setup—is wrong.
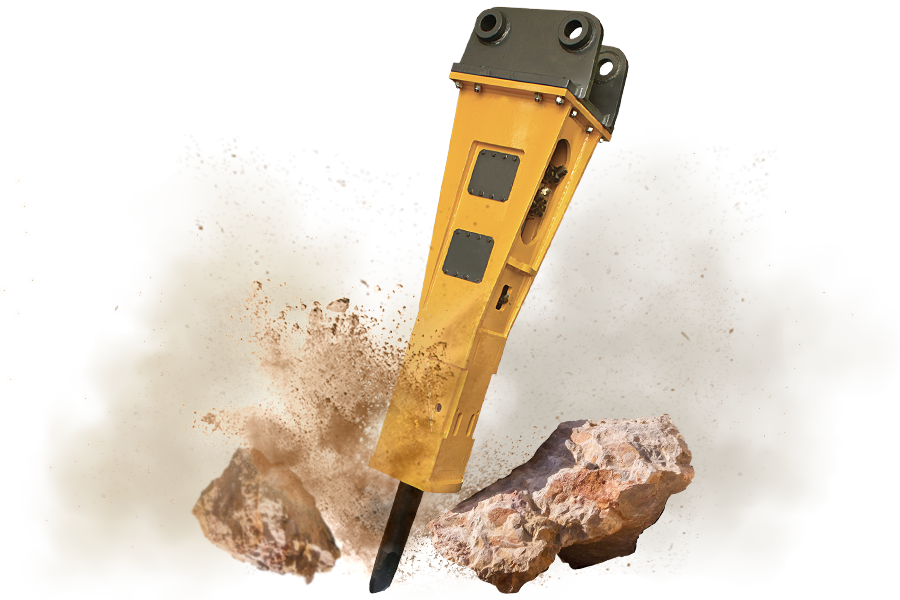
Tool Selection and Blank-Firing Damage
Moil, chisel, blunt, and specialty tools each suit different materials. Moil points concentrate energy for rock penetration; chisels help along a line in concrete or trench work; blunts compact and break brittle material over a wider contact. Wrong tool steel for abrasive rock wears the tip into a polished skate that increases glancing blows—and glancing blows invite blank-firing when the bit chatters out of the kerf.
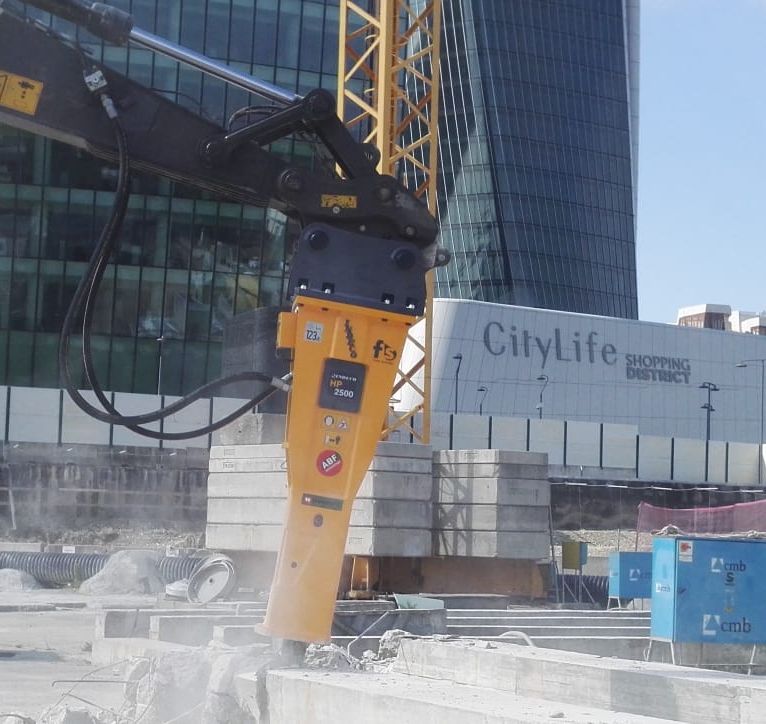
Blank-firing—running the breaker with the tool not firmly seated in the material—is one of the fastest ways to destroy retainer systems, damage the tool and bushings, and send shock into the carrier. Keep the tool pressed into the work with carrier down-pressure so the piston always hits a loaded tool. Reposition when the material breaks away; do not hold the trigger in open air “for a second.” Anti-blank-firing (ABF) systems on some hammers help by interrupting the cycle when the tool is unloaded, but they are a backstop—not a license to free-fire.
Attachment makers such as Indeco North America publish carrier-weight bands, oil requirements, and features like ABF and fuel-saving hydraulic systems across HP-series hammers—use those charts to shortlist models, then verify hose kits, mounting, and tool choice against the concrete or rock on your site.
Operating Habits That Protect Pins and Bushings
Work the breaker perpendicular to the face when you can so energy goes into the material instead of side-loading the stick. Avoid prying with the tool steel as a crowbar—that bends tools and overloads bushings. Grease on the interval the manual requires; dry bushings accelerate wear and raise heat. In dusty demolition, manage dust for visibility and for the people nearby—stopping to clear fines from the work face also helps the tool stay seated.
Cycle discipline beats macho continuous trigger time. Seat, break, reposition. Let the excavator’s weight help hold the tool in; if the machine is bouncing or the tracks slap, reduce energy, change the tool, or admit the breaker/carrier pair is wrong for the face.
When a Larger Carrier Is the Cheaper Fix
If production estimates assume a mid-size hammer but the only excavator on site is under-weight for that model, do not “make it work” for a week of pin repairs. Options that often cost less than downtime: swap to a hammer inside the machine’s band; bring a heavier carrier for the hammer you need; or change method (saw, pulverizer, or selective demo) when vibration or noise limits kill breaker productivity anyway. Forcing an oversized hammer onto a light excavator transfers demolition cost into undercarriage and structural repairs that outlast the job.
Document the match: excavator model and operating weight, breaker model and serial, tool type, hydraulic settings, and the material. That record speeds the next rental and gives maintenance a baseline when bushings wear early.
Mounting, Noise, and a Pre-Work Checklist
Mount the breaker with the hardware and torque values the manufacturer specifies. Top brackets and adapter plates must match both the hammer and the coupler or pin-on geometry—mixed leftover plates from another brand are a common source of cracked ears. Check that hoses clear the stick through the full curl range without pinch points.
Urban and indoor work may need Whisper or similarly muffled housings, restricted hours, and dust control. Sizing still comes first: a quiet hammer that is wrong for the carrier will still blank-fire and overheat; a correctly sized hammer with the right housing meets the permit and the pin budget.
Before production, walk a short checklist: carrier weight band confirmed; hydraulic flow/pressure set per the hammer plate; tool type matched to material; grease done; ABF or similar protection enabled if equipped; exclusion zone and PPE set for flying debris; and a clear rule that open-air firing stops the task. That list takes minutes and prevents the expensive first hour.
Finally, treat breaker sizing as a fleet decision when you own multiple excavators. Label which hammers fit which carriers, and resist the yard habit of “whichever coupler fits.” A shared hammer that only truly matches one machine will get forced onto the wrong stick on a busy Monday—and Monday is when pins and bushings get cooked.
Final Thoughts
Sizing a hydraulic breaker starts with carrier operating-weight bands, then confirms oil flow, pressure, mounting, and tool steel for the material. Keep the bit loaded to avoid blank-firing; grease and work in line with the stick to protect bushings and pins; and escalate to a heavier carrier or a different method when the match only works on paper. A breaker that sounds busy but sits on a bouncing, light excavator is not productive—it is a future repair order. Honest weight-class matching keeps both machines in the fight.