

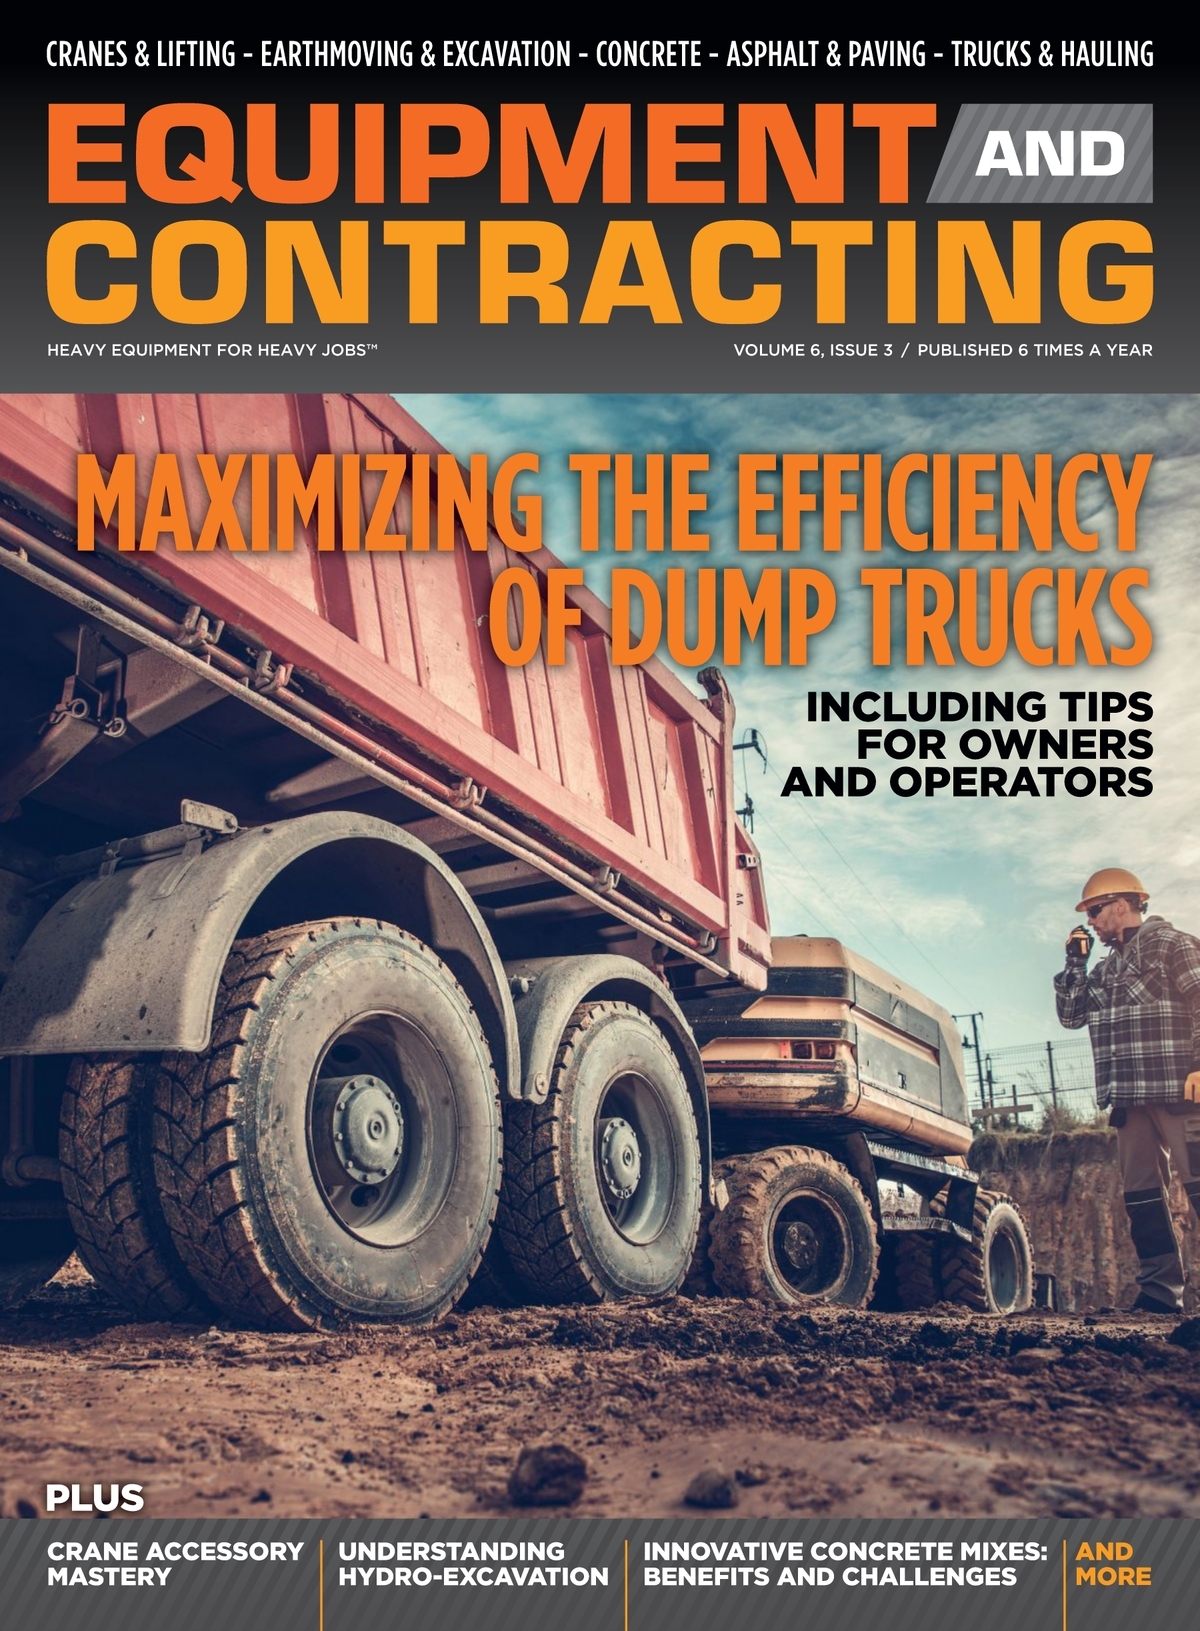


View the complete article here.
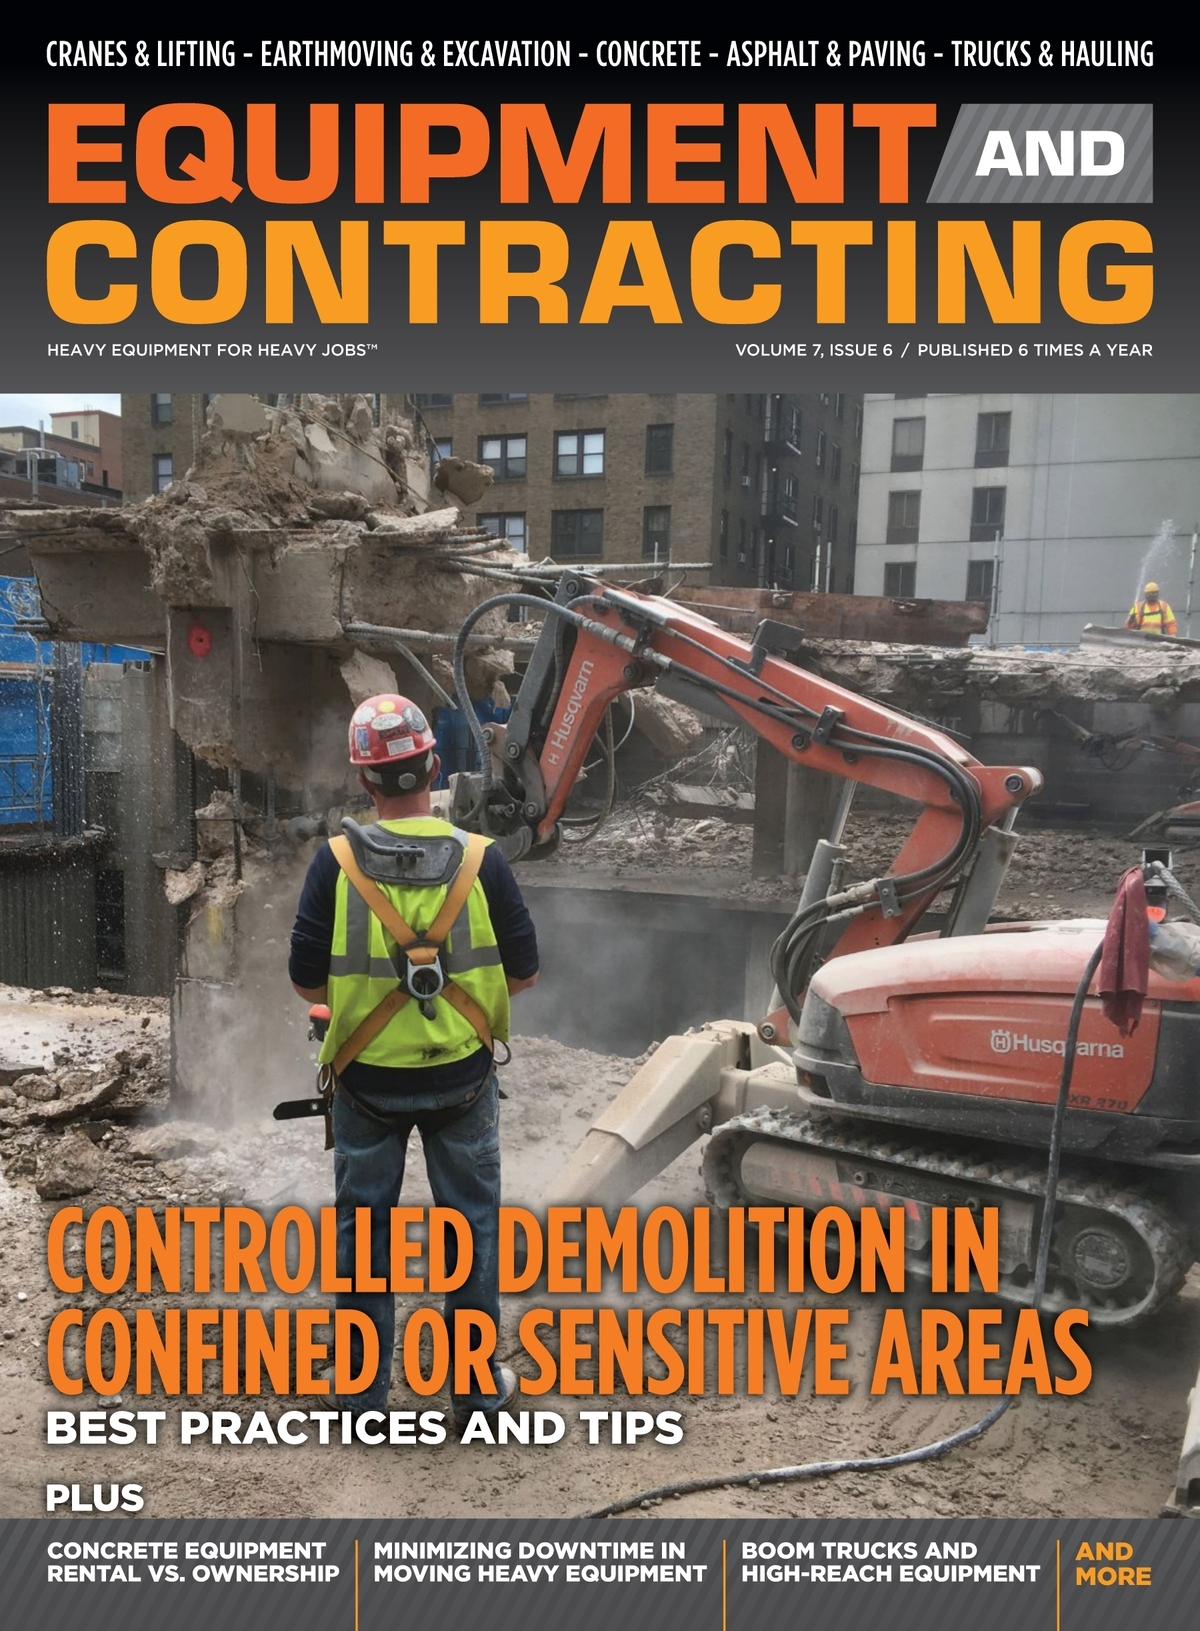
Earthmoving equipment—such as excavators, bulldozers, loaders, and their attachments like buckets, blades, and rippers—endures intense wear-and-tear in demanding construction environments. Welding is a vital skill for maintaining, repairing, modifying, and rebuilding these machines to ensure they perform reliably under heavy loads, abrasive materials, and rough terrain.
Understanding the Role of Welding in Earthmoving Equipment
Welding is integral to the lifecycle of earthmoving equipment, serving multiple purposes beyond simple repairs…
Repairs: Fix cracks, fractures, or wear on components like excavator arms, dozer blades, or bucket edges caused by impacts, fatigue, or abrasion. For example, repairing a cracked bucket can save $5,000–$10,000 compared to replacement.
Fabrication: Build or assemble new attachments, such as custom buckets, grapples, or thumbs, tailored to specific job requirements. Welding ensures strong, durable joints for these components.
Modification: Add reinforcements (e.g., wear plates on a loader bucket) or modify equipment for new tasks, like retrofitting a ripper attachment onto a bulldozer for breaking hard ground.
Rebuilding and Hardfacing: Apply wear-resistant materials (hardfacing) to high-wear areas like bucket teeth or blade edges to extend their lifespan by 50–100%. This process is common for attachments exposed to abrasive materials like sand or gravel.
Earthmoving equipment often uses high-strength, low-alloy (HSLA) steels or abrasion-resistant (AR) steels like AR400 or AR500, which require specific welding techniques to maintain structural integrity. Understanding the purpose of your welding task—whether repair, fabrication, or modification—guides your approach and equipment choices.
Safety Precautions and Preparation
Welding earthmoving equipment involves working with heavy components, high temperatures, and potentially hazardous environments. Prioritizing safety ensures quality work and protects workers.
Personal Protective Equipment (PPE)
Wear a welding helmet with a proper shade (e.g., 10–13 for MIG/TIG welding) to protect against arc flash, along with flame-resistant gloves, jackets, and steel-toe boots. PPE costs $100–$300 but prevents burns or eye injuries that could lead to $5,000–$20,000 in medical expenses.
Use respiratory protection, such as a half-mask respirator ($50–$100), when welding in confined spaces or on materials with coatings that may release fumes, like galvanized steel.
Work Environment
Ensure a well-ventilated workspace to avoid inhaling harmful welding fumes, which can contain manganese or chromium. Portable fume extractors ($1,000–$3,000) reduce exposure by 70–90%.
Clear the area of flammable materials (e.g., fuel, oil, or debris) and keep a fire extinguisher nearby. Earthmoving equipment often has residual grease or hydraulic fluid, which can ignite during welding.
Equipment Preparation
Clean the weld area thoroughly using a wire brush, grinder, or solvent to remove dirt, rust, or paint, ensuring a strong weld. Contaminants can cause porosity, reducing weld strength by 20–30%.
Secure the equipment or attachment (e.g., a bucket or blade) with clamps or a jig to prevent movement during welding, which could lead to misalignment or weak joints.
Check for residual stresses or cracks using dye penetrant testing ($50–$100 per kit) before welding, especially on older equipment, to avoid weld failure under load.
Proper preparation minimizes risks, improves weld quality, and ensures the longevity of repairs or modifications on earthmoving equipment.
Material Considerations and Weld Imperfections
Earthmoving equipment is typically made from durable materials that pose unique welding challenges. Understanding these materials and common weld imperfections helps achieve strong, lasting welds.
Common Materials
High-Strength Low-Alloy (HSLA) Steel: Used in structural components like excavator arms or chassis, HSLA steels (e.g., ASTM A572) offer high strength but require low-hydrogen welding processes to prevent cracking. Preheat to 200–300°F to reduce hydrogen-induced cracking risks.
Abrasion-Resistant (AR) Steel: Found in buckets, blades, and wear plates (e.g., AR400, AR500), AR steels are hard and prone to cracking if overheated. Use low-heat input and avoid excessive weaving during welding to maintain hardness.
Cast Iron: Common in older equipment or attachments like hydraulic mounts, cast iron is brittle and requires nickel-based electrodes (e.g., ENiFe-CI) and preheating to 500–600°F to prevent cracking.
Weld Imperfections to Avoid
Cracks: Often caused by improper preheat, high hydrogen levels, or rapid cooling. Use low-hydrogen electrodes (e.g., E7018) and maintain interpass temperatures (e.g., 300–400°F) to minimize this risk.
Porosity: Results from contamination or moisture in the weld area, weakening the joint. Ensure thorough cleaning and use dry filler materials to prevent gas entrapment.
Undercut: Occurs when the base metal melts away at the weld’s edge, reducing strength. Control heat input and travel speed to avoid excessive melting of the parent material.
Material Matching
Match filler metals to the base material’s strength and composition. For HSLA steel, use E7018 or E8018 electrodes; for AR steel, use hardfacing alloys like chromium carbide for wear resistance.
Consult the equipment manufacturer’s manual or a welding engineer for specific material grades and recommended welding procedures, especially for critical components like chassis or booms.
Welding Techniques for Earthmoving Equipment
Different welding techniques are suited to various tasks on earthmoving equipment and attachments. Selecting the right method depends on the material, component, and project requirements.
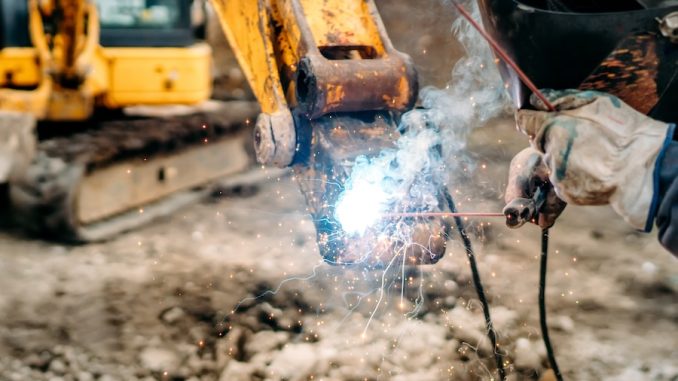
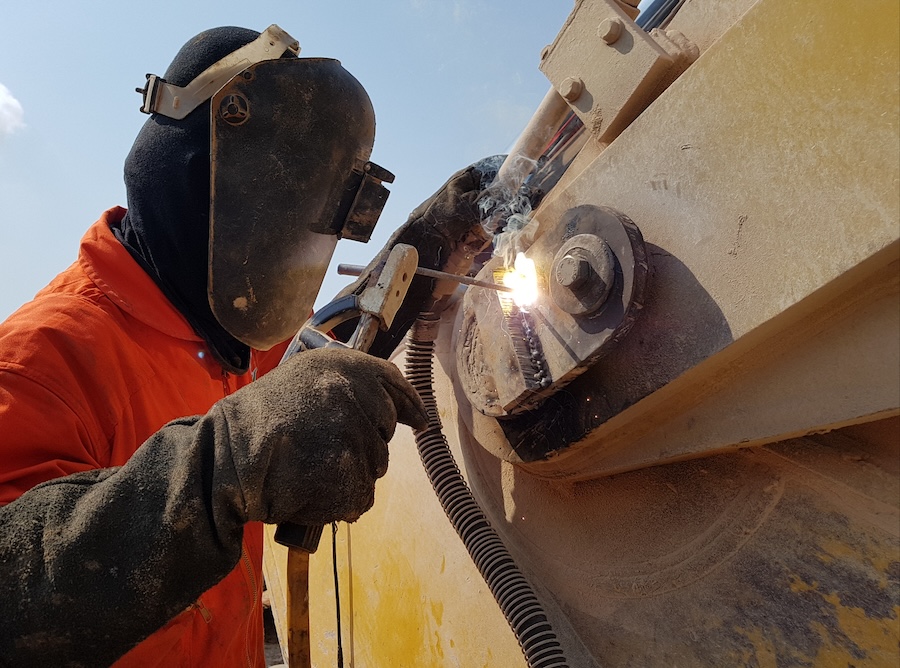
Shielded Metal Arc Welding (SMAW, Stick Welding)
Applications: Ideal for field repairs on components like dozer blades, buckets, or rippers, as it’s portable and effective on dirty or rusty surfaces. Commonly used for structural repairs on HSLA steel.
Advantages: Versatile and cost-effective, with equipment costing $500–$2,000. Low-hydrogen electrodes (e.g., E7018) reduce cracking risks on high-strength steels.
Considerations: Slower than other methods and requires skill to avoid slag inclusions. Use a 1/8-inch electrode for most repairs, maintaining a 15–20° drag angle for consistent welds.
Gas Metal Arc Welding (GMAW, MIG Welding)
Applications: Best for shop fabrication or rebuilding attachments like buckets or grapples, offering high deposition rates for filling large areas or hardfacing wear parts.
Advantages: Faster than stick welding, with equipment costing $1,000–$5,000. Provides clean welds with minimal cleanup, using solid wire (e.g., ER70S-6) or flux-cored wire for AR steel.
Considerations: Requires a clean surface and shielding gas (e.g., 75% argon/25% CO2), which can be challenging in windy field conditions. Adjust voltage (18–22V) and wire speed for optimal penetration.
Gas Tungsten Arc Welding (GTAW, TIG Welding)
Applications: Used for precision repairs on smaller components or cast iron parts, such as hydraulic mounts or attachment pins, where high-quality welds are critical.
Advantages: Produces clean, precise welds with minimal distortion, ideal for thin materials or critical joints. Equipment costs $2,000–$6,000, with argon gas for shielding.
Considerations: Slower and more skill-intensive, making it less practical for large-scale repairs. Use a 2% thoriated tungsten electrode and ER80S-D2 filler for HSLA steel.
Hardfacing Techniques
Applications: Apply wear-resistant layers to bucket edges, blade tips, or ripper teeth using flux-cored arc welding (FCAW) with hardfacing wire (e.g., chromium carbide or tungsten carbide).
Advantages: Extends component life by 50–100%, reducing replacement costs. A 1/16-inch wire with 25–30V settings ensures even deposition.
Considerations: Avoid excessive heat to prevent softening the base material. Use a stringer bead technique (straight, narrow welds) to minimize dilution and maintain hardness.

Selecting Welding Equipment and Consumables
Choosing the right welding equipment and consumables is critical for achieving high-quality welds on earthmoving equipment. Invest in reliable tools and materials suited to heavy-duty applications.
Welding Machines
For field repairs, a portable stick welder (e.g., Lincoln Electric Ranger series, $2,000–$4,000) offers durability and versatility, with 200–300 amps for thick steel.
In shop settings, a MIG welder like those from Fronius, known for their TransSteel series, provides high deposition rates for fabrication and hardfacing. Fronius welders, costing $3,000–$7,000, are widely used in the Yellow Goods industry for their precision and reliability in welding heavy equipment.
For precision tasks, a TIG welder (e.g., Miller Dynasty series, $4,000–$8,000) ensures clean welds on critical components, with adjustable settings for thin materials.
Consumables
Electrodes and Wires: Use low-hydrogen electrodes (E7018) for stick welding HSLA steel, or flux-cored wire (E71T-1) for MIG hardfacing, costing $5–$10 per pound. Hardfacing wires like chromium carbide ($10–$20 per pound) are ideal for wear parts.
Shielding Gas: For MIG/TIG welding, use a 75% argon/25% CO2 mix ($50–$100 per cylinder) to ensure stable arcs and clean welds on steel components.
Grinding and Cleaning Tools: Invest in angle grinders ($100–$300) and wire brushes ($5–$15) for surface prep, ensuring strong welds free of contaminants.
Accessories
Use welding clamps ($20–$50) to secure components, preventing misalignment during welding. A temperature stick ($10–$20) monitors preheat and interpass temperatures, critical for HSLA or AR steel.
Portable fume extractors ($1,000–$3,000) enhance safety by removing harmful fumes, especially when welding in enclosed areas like equipment cabs or undercarriages.
Investing in quality equipment and consumables ensures consistent welds, reducing rework and downtime on earthmoving equipment repairs or modifications.
Best Practices for Welding Earthmoving Equipment
To achieve durable, high-quality welds on earthmoving equipment and attachments, follow these best practices tailored to the demands of heavy-duty applications.
Preheat and Control Heat Input
Preheat HSLA or AR steel to 200–300°F (or higher for cast iron) to reduce thermal shock and prevent cracking. Use a propane torch ($50–$100) and temperature sticks to verify.
Control heat input by using lower amperage (e.g., 100–150 amps for 1/8-inch electrodes) and shorter weld passes to avoid softening the base material, especially on AR steel.
Weld in the Right Position
Weld in the flat position whenever possible for better control and penetration, especially for hardfacing or filling large cracks. For field repairs, use clamps or positioners to orient components.
For vertical welds (e.g., on an excavator arm), use an uphill technique with a slight weave to ensure fusion, maintaining a 5–10° electrode angle to avoid undercut.
Post-Weld Treatment
Allow welds to cool slowly by covering them with a welding blanket ($20–$50) to prevent rapid cooling, which can cause cracking in high-strength steels.
Grind welds smooth with an angle grinder to remove stress risers, then apply a protective coating (e.g., weldable primer, $10–$20 per can) to prevent corrosion on exposed areas.
Test Weld Integrity
Use dye penetrant testing ($50–$100 per kit) to check for surface cracks or porosity after welding, especially on critical components like booms or chassis.
For high-stakes repairs, consider hiring a certified inspector ($500–$1,000) to perform ultrasonic testing, ensuring welds meet structural standards.
Document Weld Procedures
Record welding parameters (e.g., amperage, preheat temp, electrode type) for each job to ensure consistency across repairs. Digital apps like WeldNote ($50/year) simplify documentation.
Keep a maintenance log for each piece of equipment, noting weld locations and dates, to track wear patterns and plan future repairs.
Following these best practices ensures welds on earthmoving equipment and attachments are strong, durable, and capable of withstanding the toughest conditions, minimizing downtime and repair costs.
View the complete article here.
What is the best welding method for repairing earthmoving equipment in the field?
Stick welding (SMAW) is the best option for field repairs due to its portability and effectiveness on dirty or weathered surfaces.
How can I prevent cracking when welding high-strength or abrasion-resistant steel?
Preheat the steel to 200–300°F and use low-hydrogen electrodes like E7018 to reduce cracking risks.


